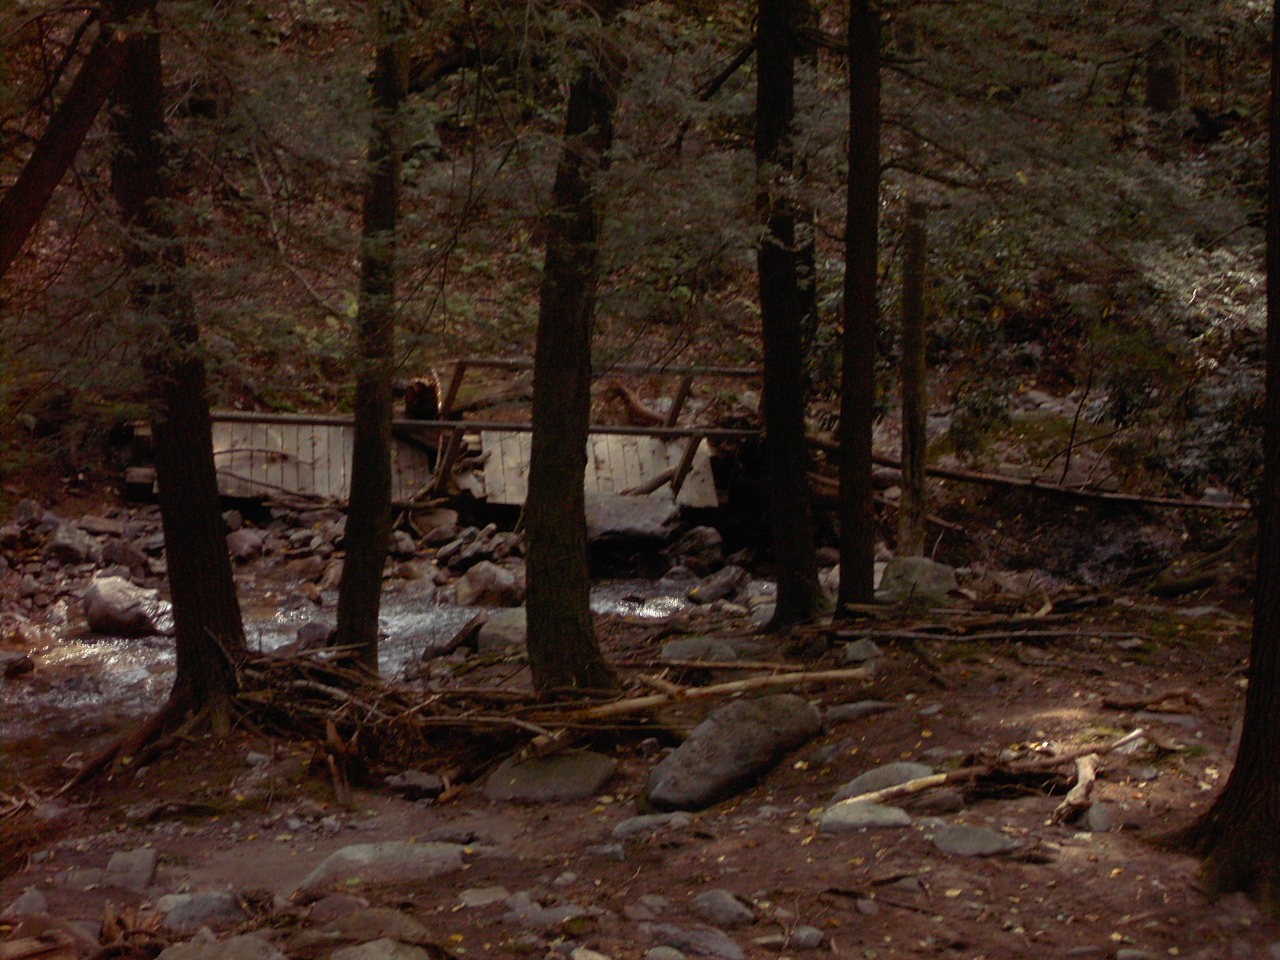
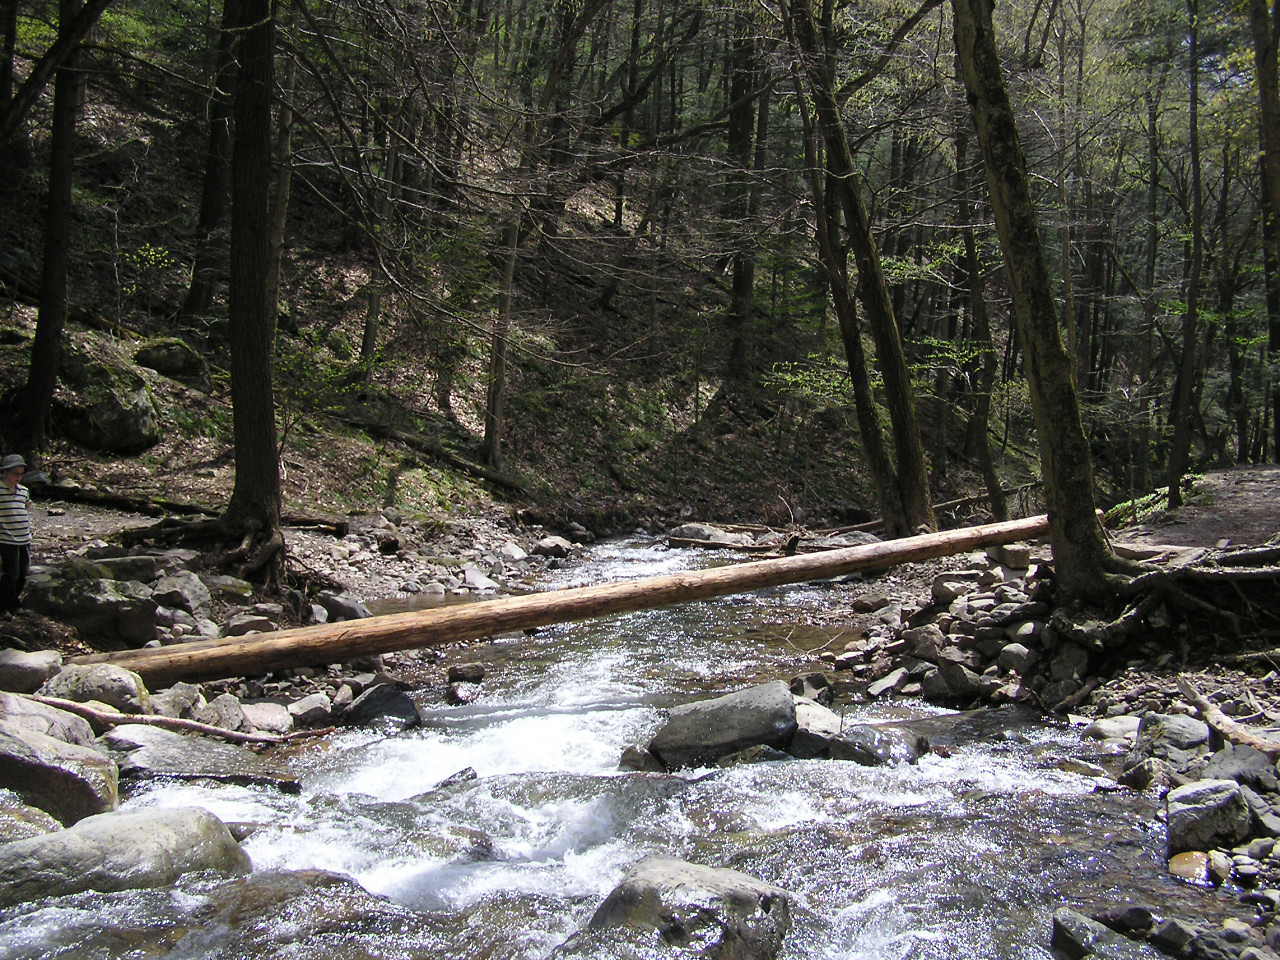
This photo, taken by a passing hiker shortly after the Hurricane shows one of the more recognizable remainders. We believe that this used to be the forth bridge, the wreckage was just upstream of the third bridge. So far, it is the only bridge that was not, apparently, smashed to smithereens by the flood waters.
[photo by permission: Daniel P. Falvo]
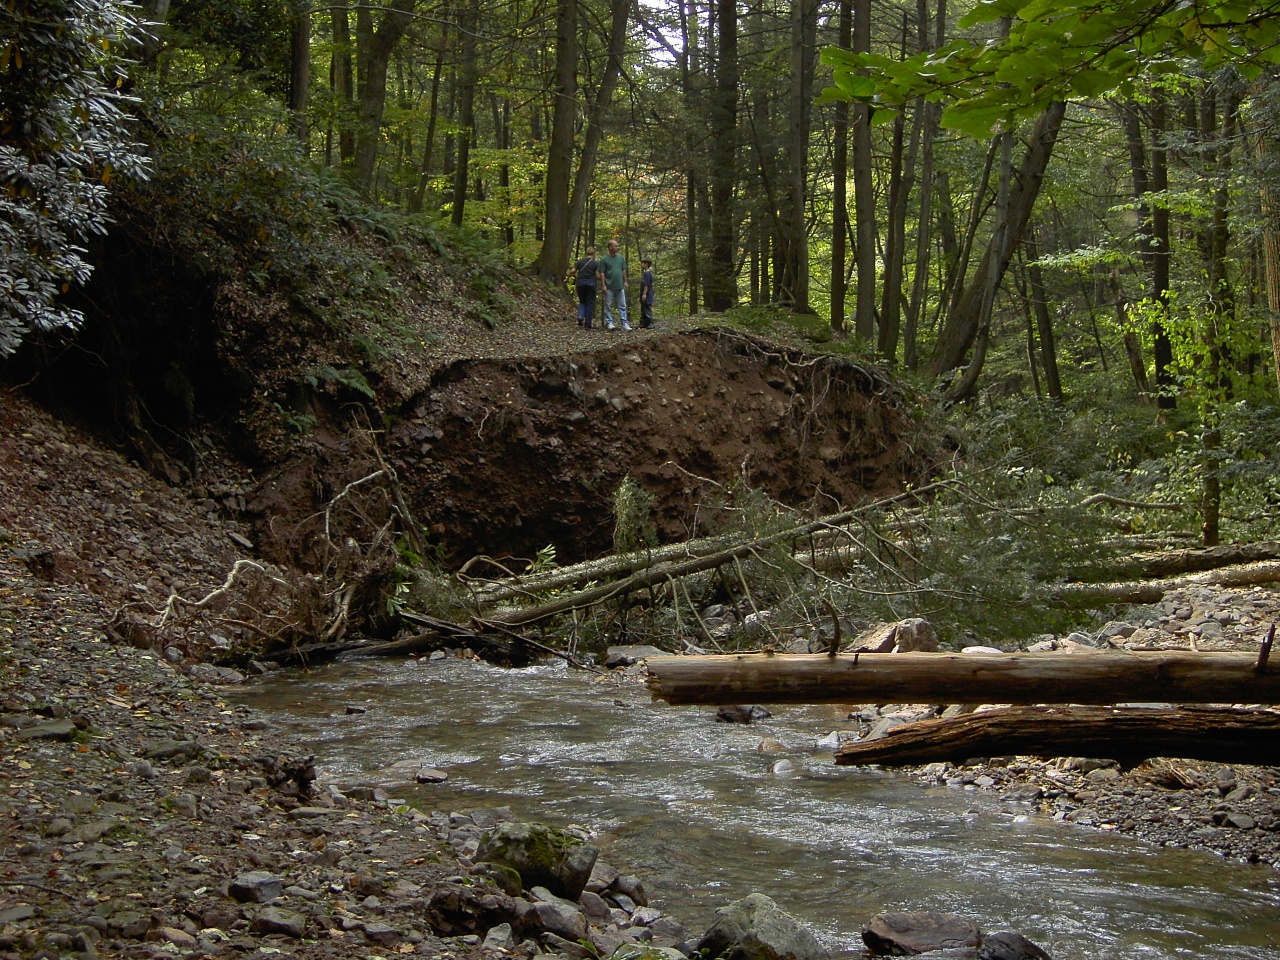
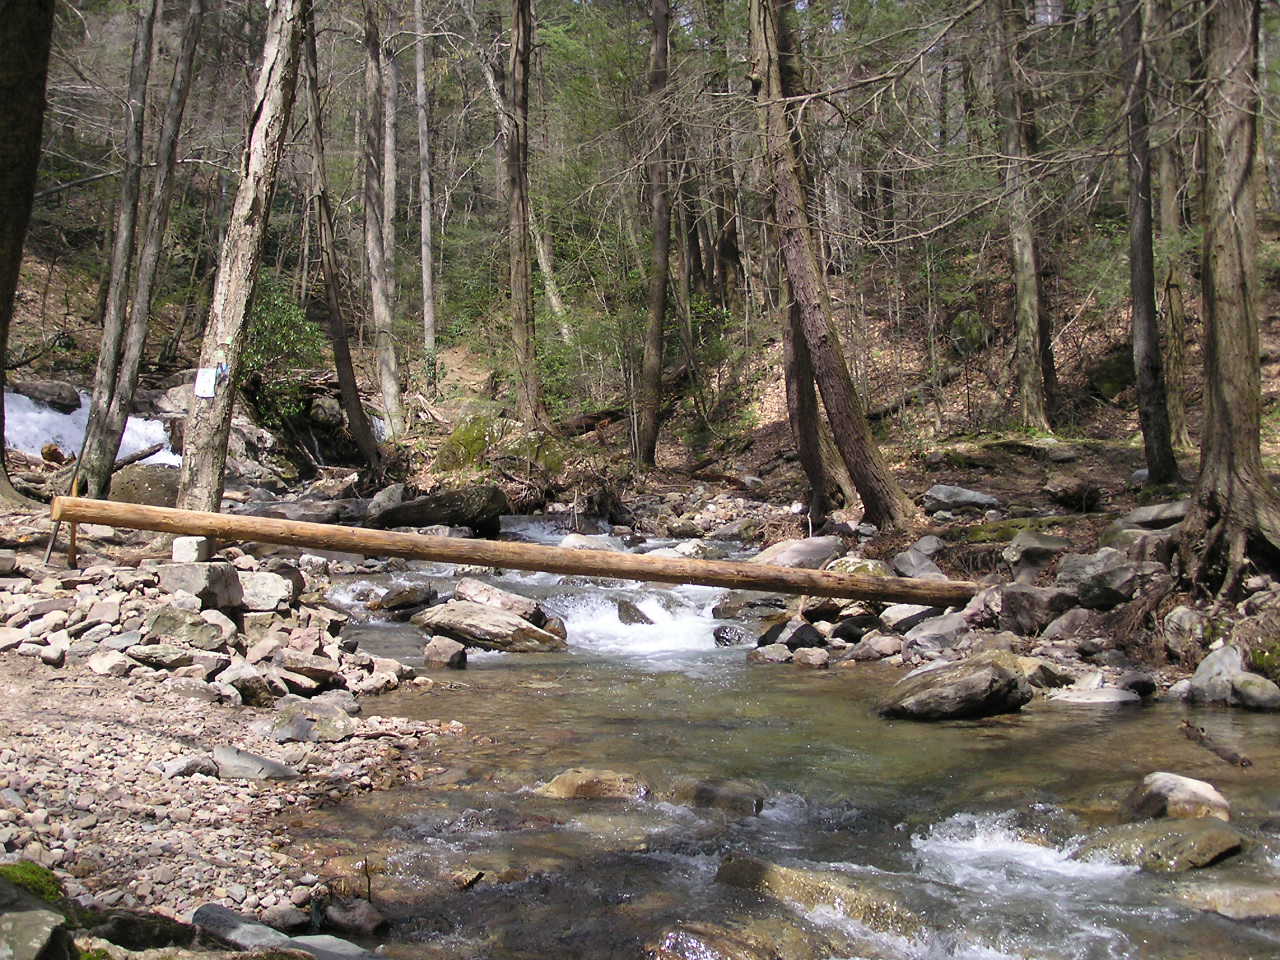
Another photo showing the new alignment of the streambed, and the 30-foot high missing section of valley wall where the trail used to be.
[photo by permission: Daniel P. Falvo]
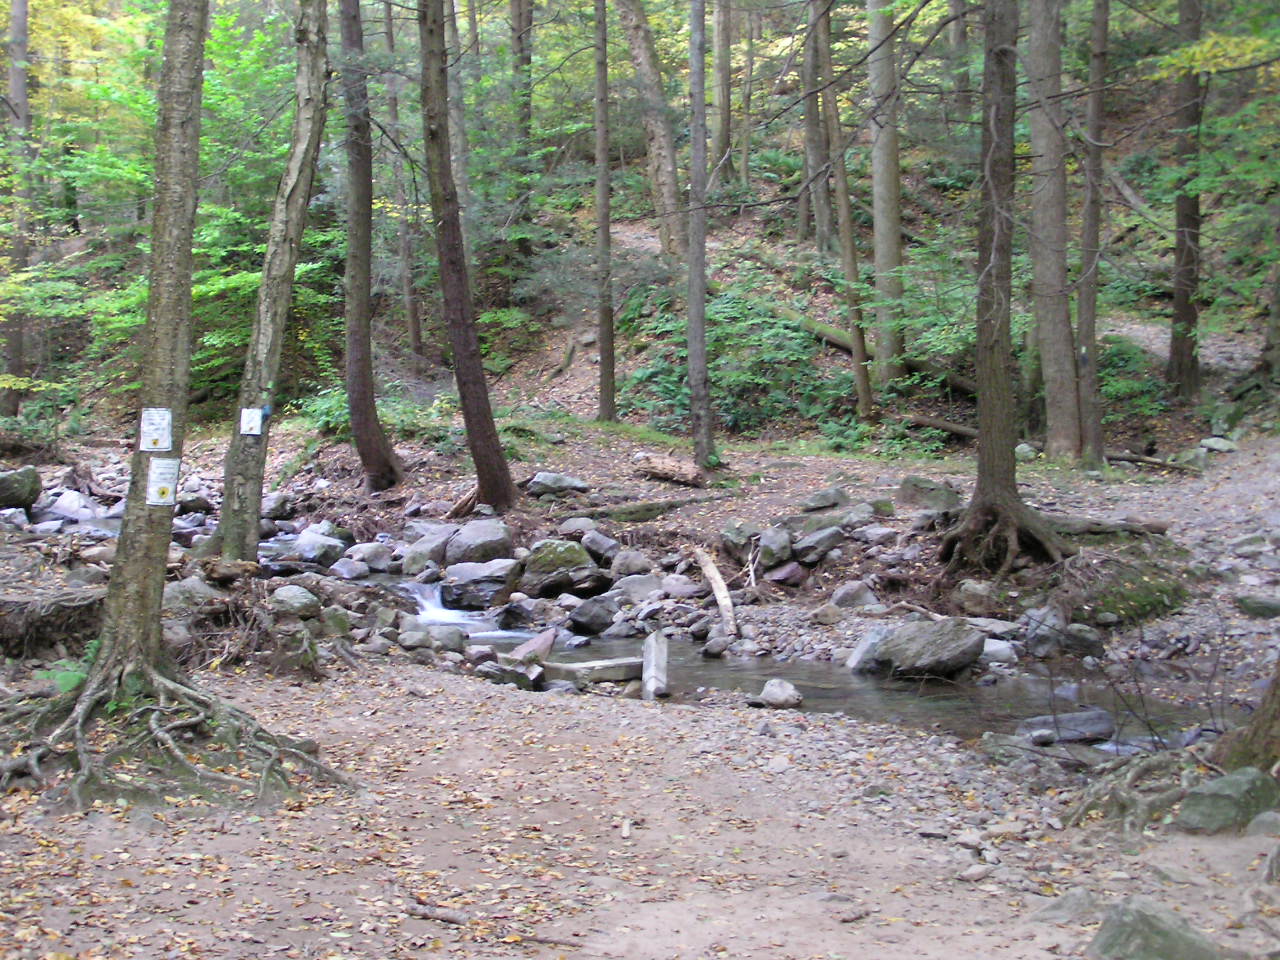
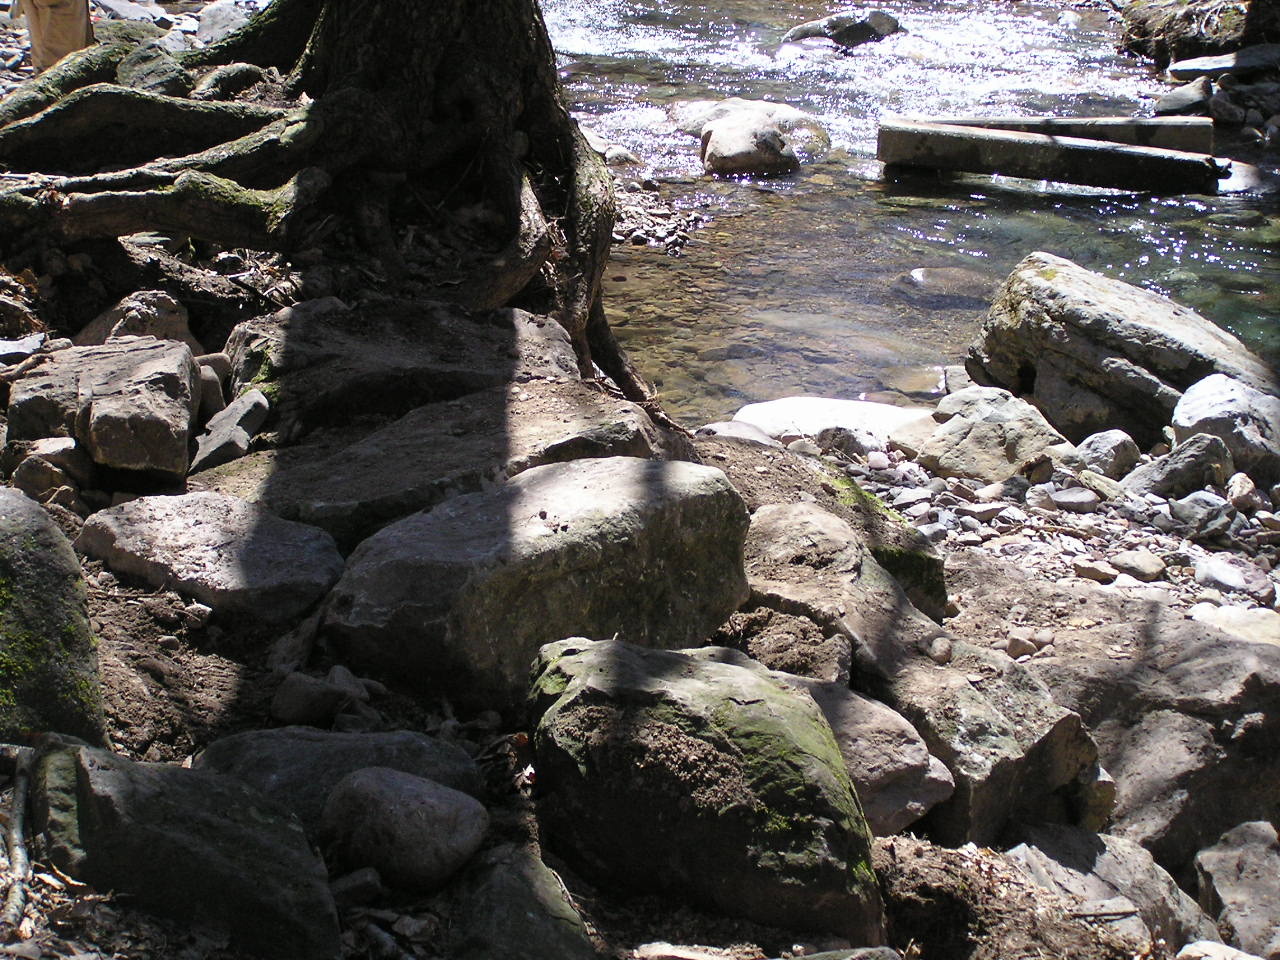
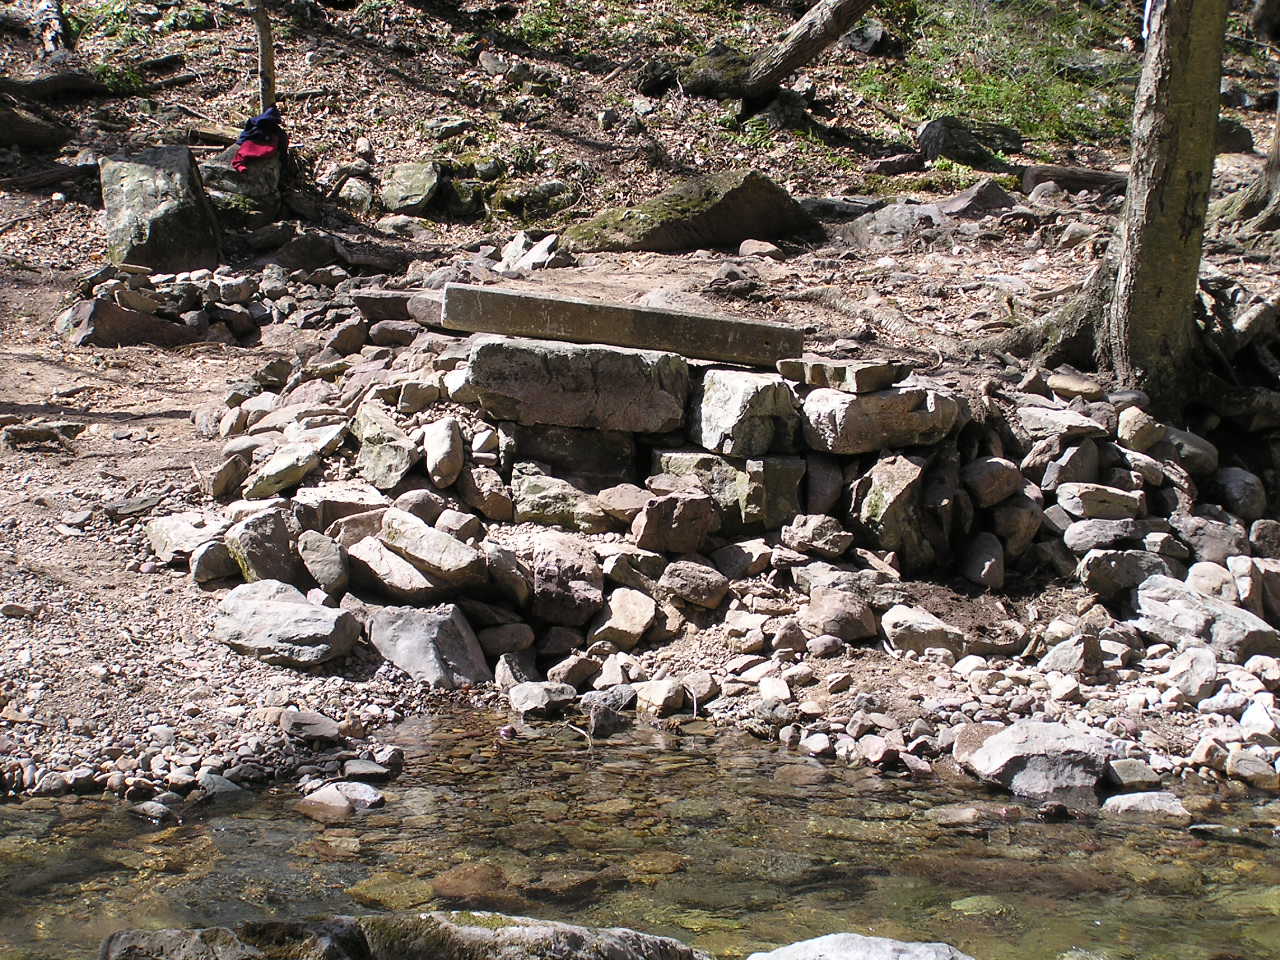
This mess is what was left of the old first bridge - just some pieces of the old footings. In this photo, the water level is quite low, so you can see the rubble and wreckage of the abutments. The timber work and everything else were smashed up and washed away by the flood waters.
[photo: David Day]
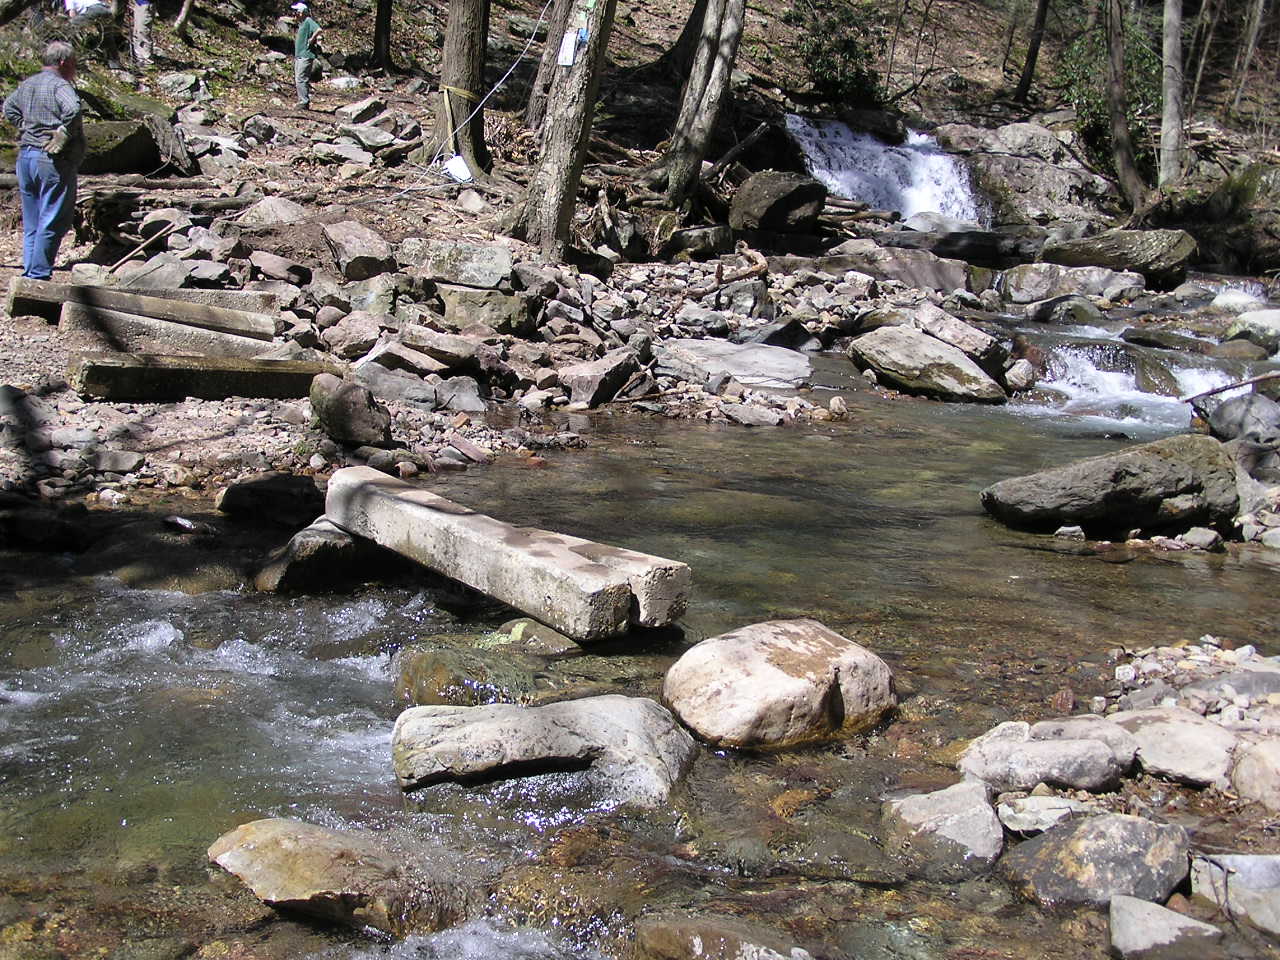
One of the first steps was to pull out the old concrete beams which had been the footing timbers for the old bridge. We used a couple of them to build a make-shift crossing so that we (and the many hikers) could get across the now 3-foot deep channel.
[photo: Monica Resor]
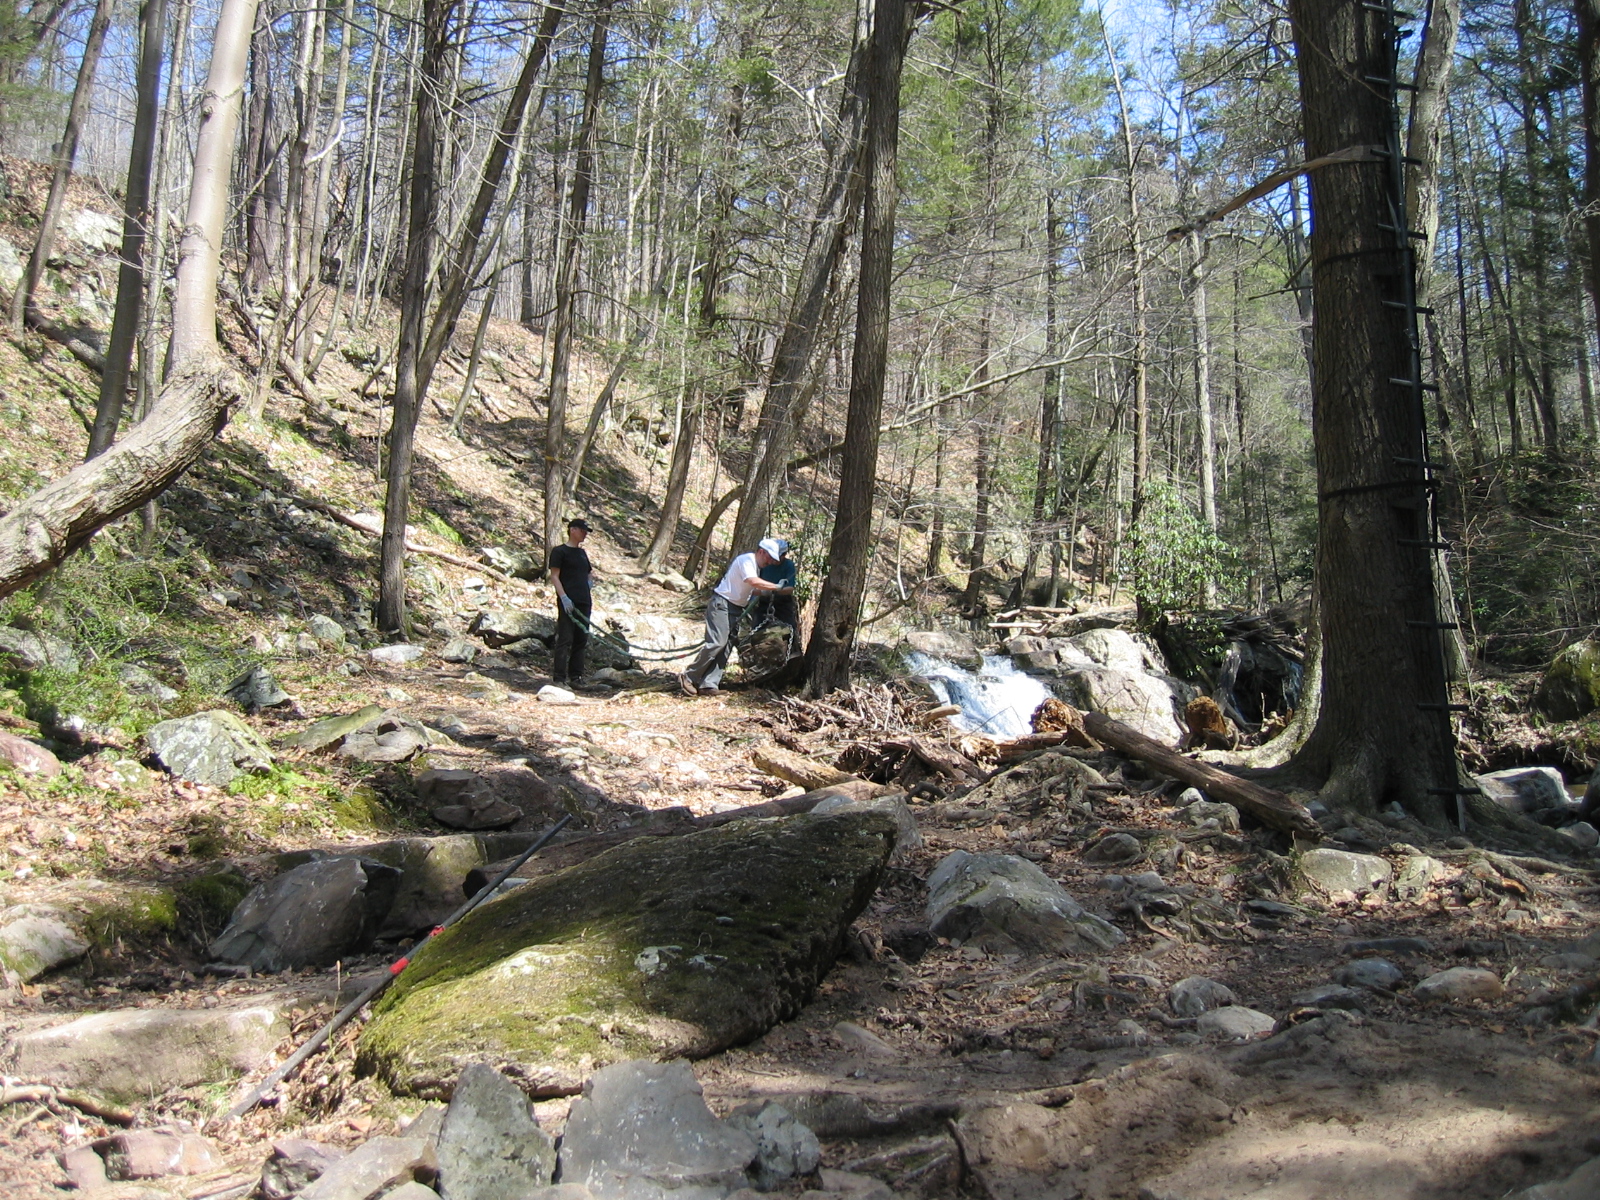
From the start, we began shopping for large rocks to build the new abutments, retaining walls, approaches and the other components that make up the groundwork for a new bridge. Since this is a protected watercourse, we tried not to take any materials from the stream - which meant we had to go up the hills on both banks for resource.
[photo by permission: Sue Bernstein]
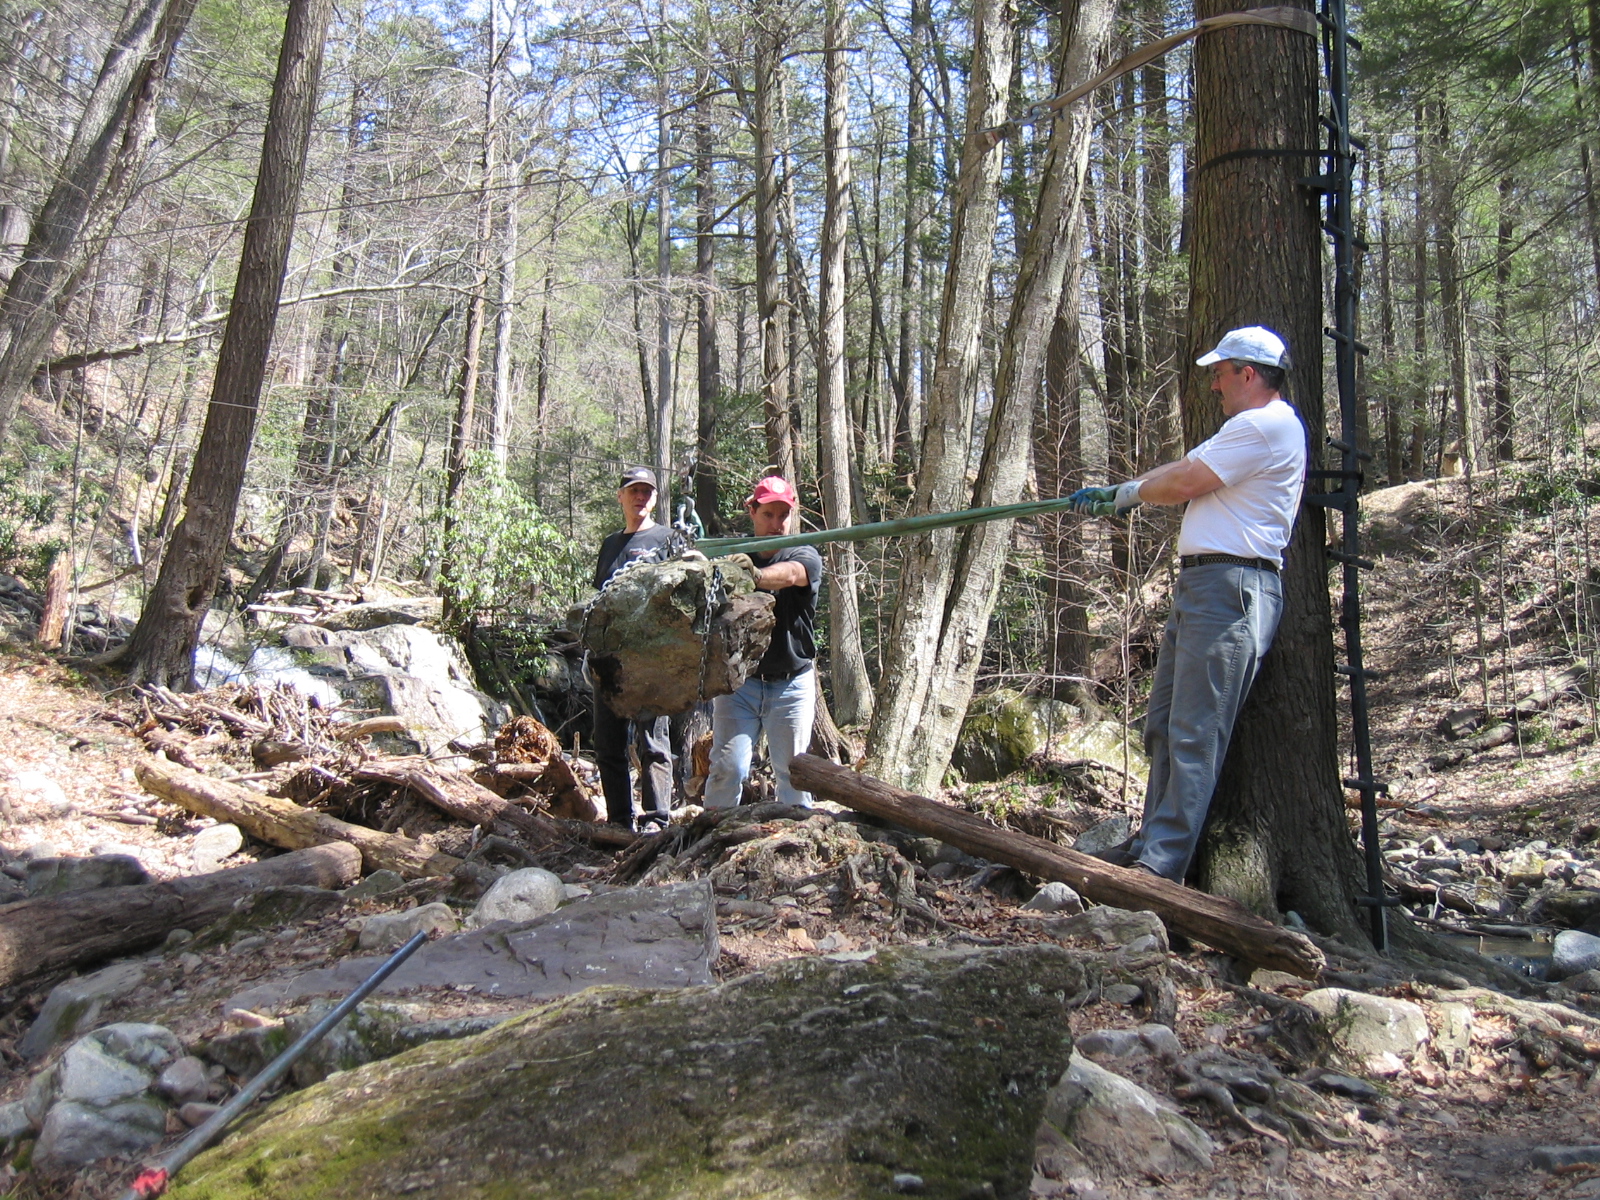
Using a Grip-Hoist with an overhead steel cable as a zip-line, we "floated" multiple tons of rock from around the area and made a stockpile near the site of the new bridge. Here, Andreas pushes, while David pulls; with Larry in the background, lining up the next rock to be moved.
[photo by permission: Sue Bernstein]
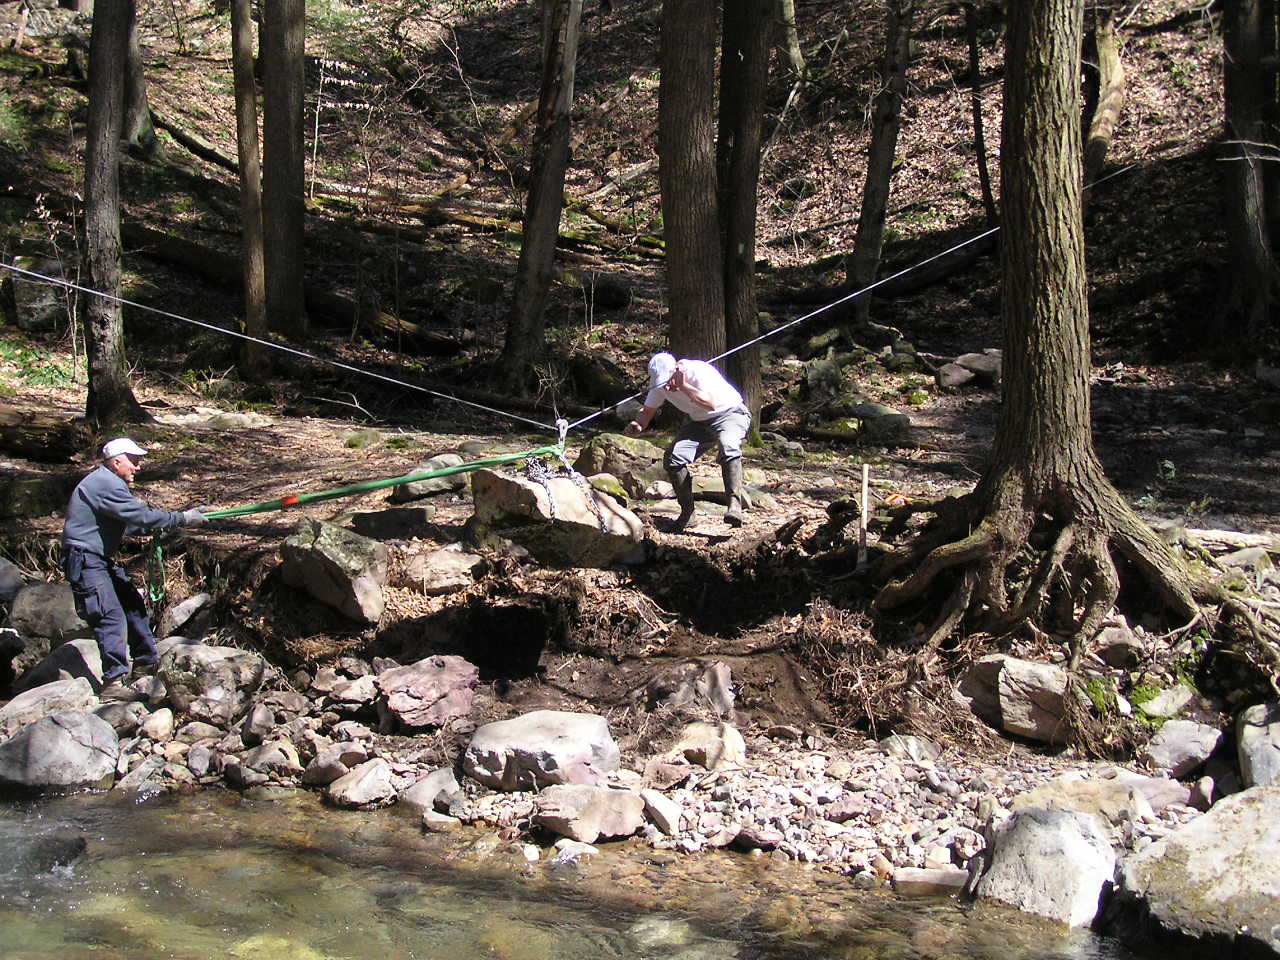
While all the rock-shopping was going on, Monica lead a contingent which began to excavate for the new footings on the eastern (far) side bank. In this photo, Roland and David are positioning what will be one of the base rocks of that abutment. Steve and Roland had teased this one out of the hill about 75 feet away and 30 feet up. At around a half ton, it should make a good base!
[photo: Monica Resor]
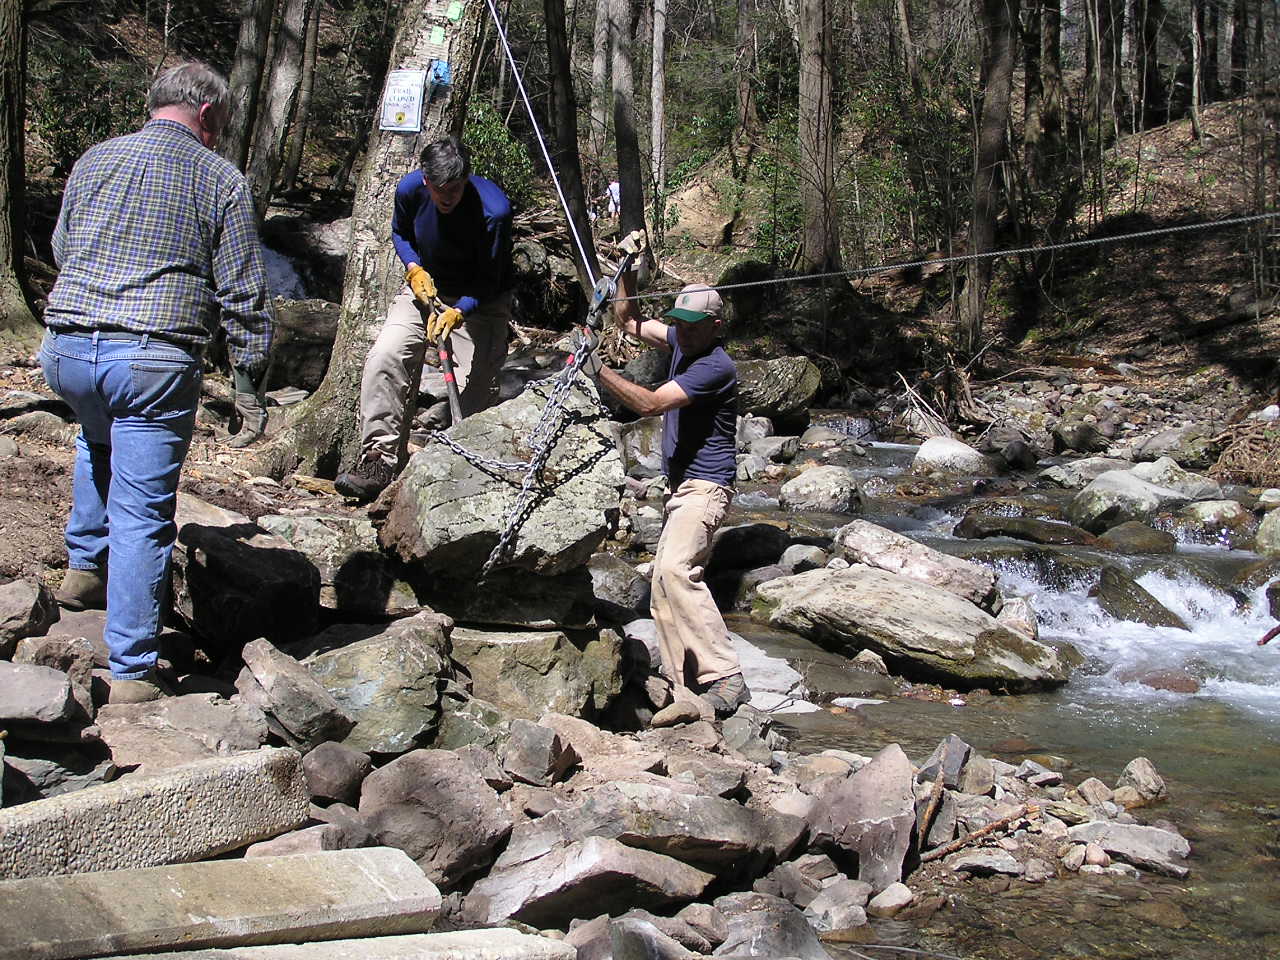
On the second trip, the North Jersey Crew joined us for the day. Work began on the western (near) side abutments working from the stockpiled materials from the previous day. Here folks from both crews are working to move another big rock into place.
[photo: Monica Resor]
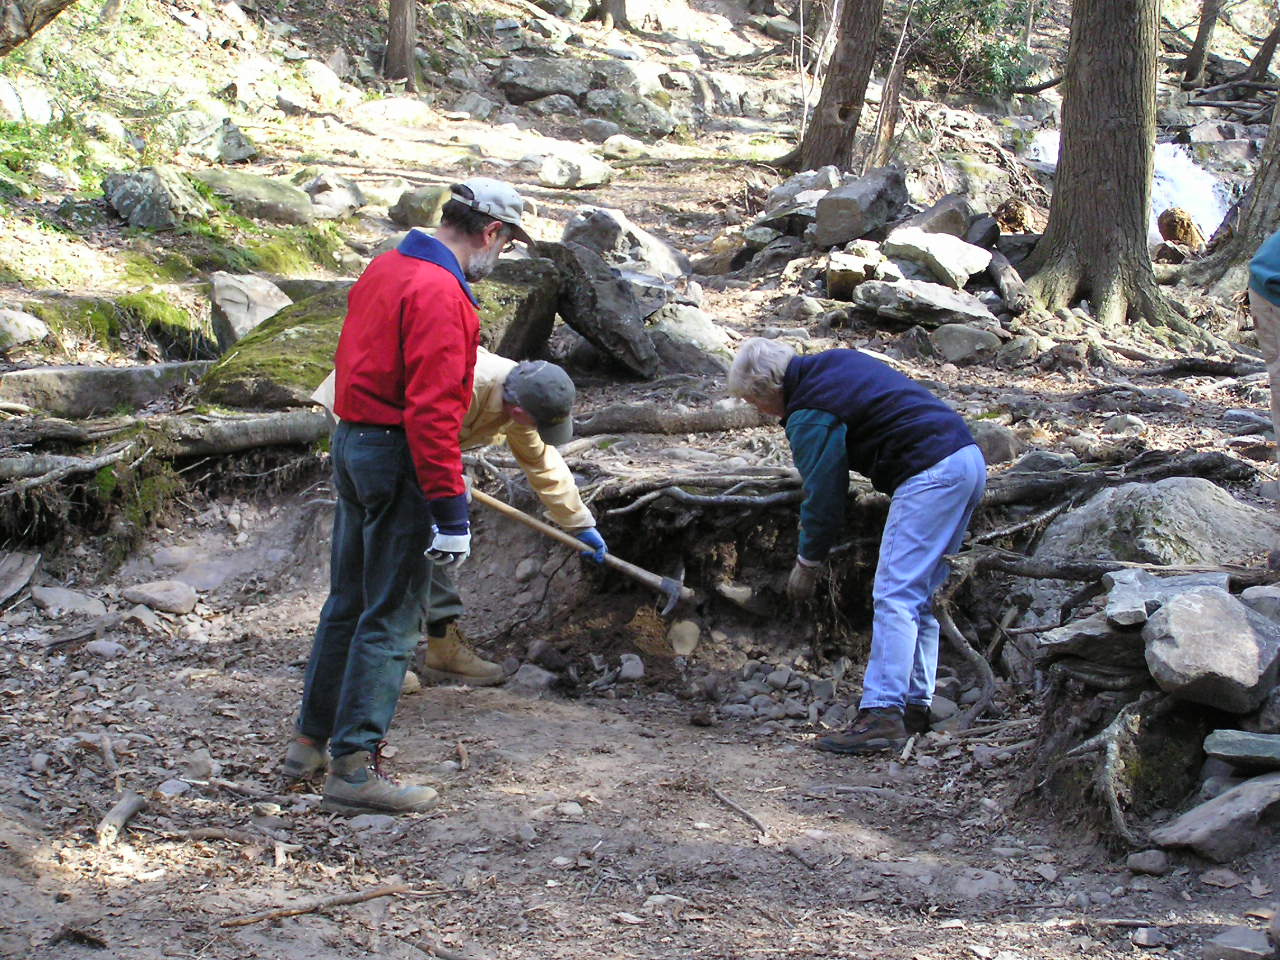
Part of the work on the near side was to build up a series of retaining walls which would create a wide enough area for people to walk on as the approach and leave the new bridge. A set of stone steps would also have to be built into the wall structure to permit hikers to easily climb up to the top of the wall and the pathway. The area was a badly eroded backwater area with lots of roots exposed. We had to dig around and then build out beyond the roots; trying to keep them to help hold the existing bank together.
[photo: Monica Resor]
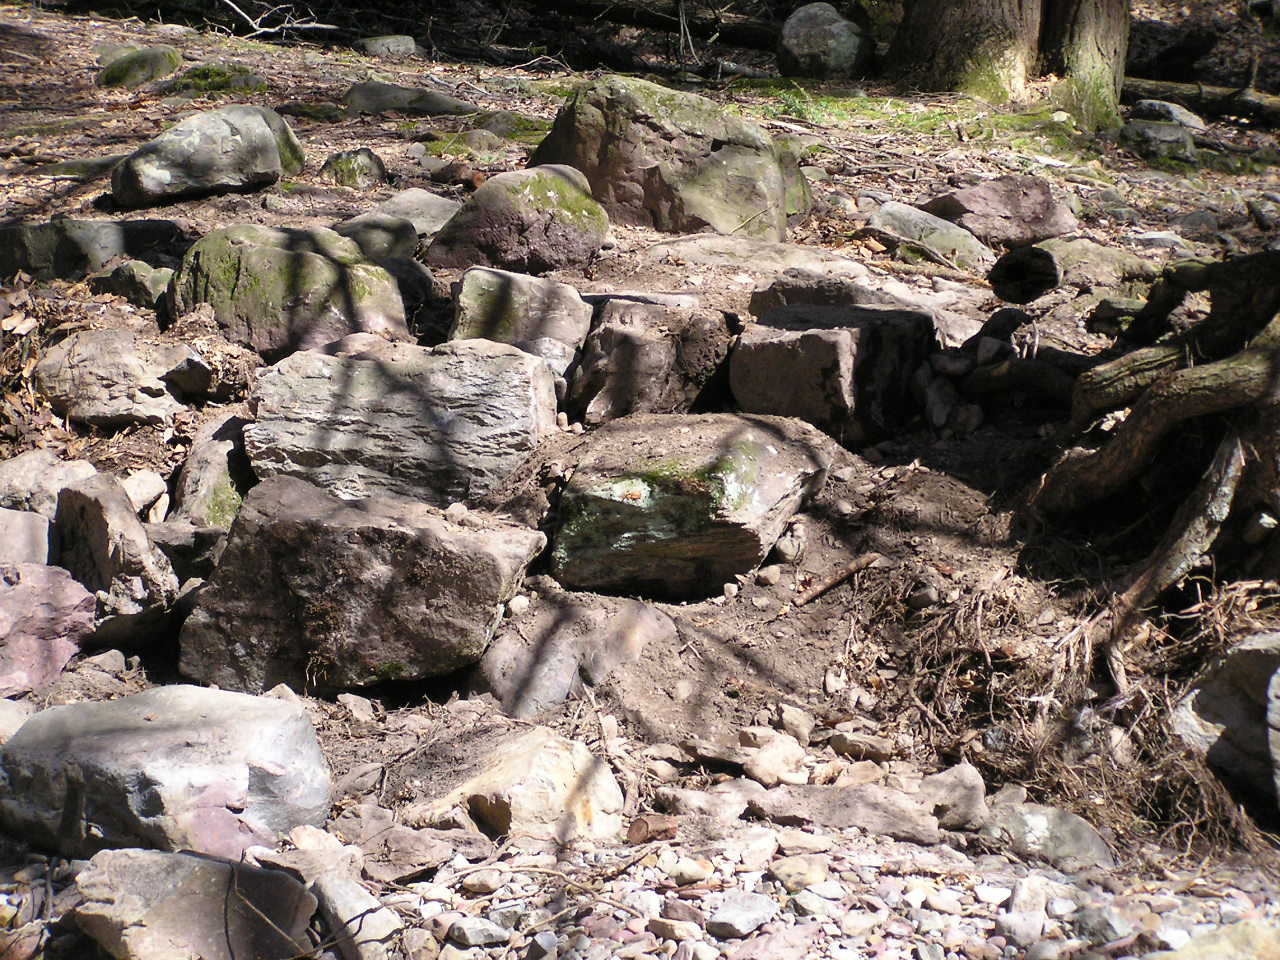
Here, the steps are in place and much of the retaining walls are in place. More raw material litters the foreground.
[photo: Monica Resor]

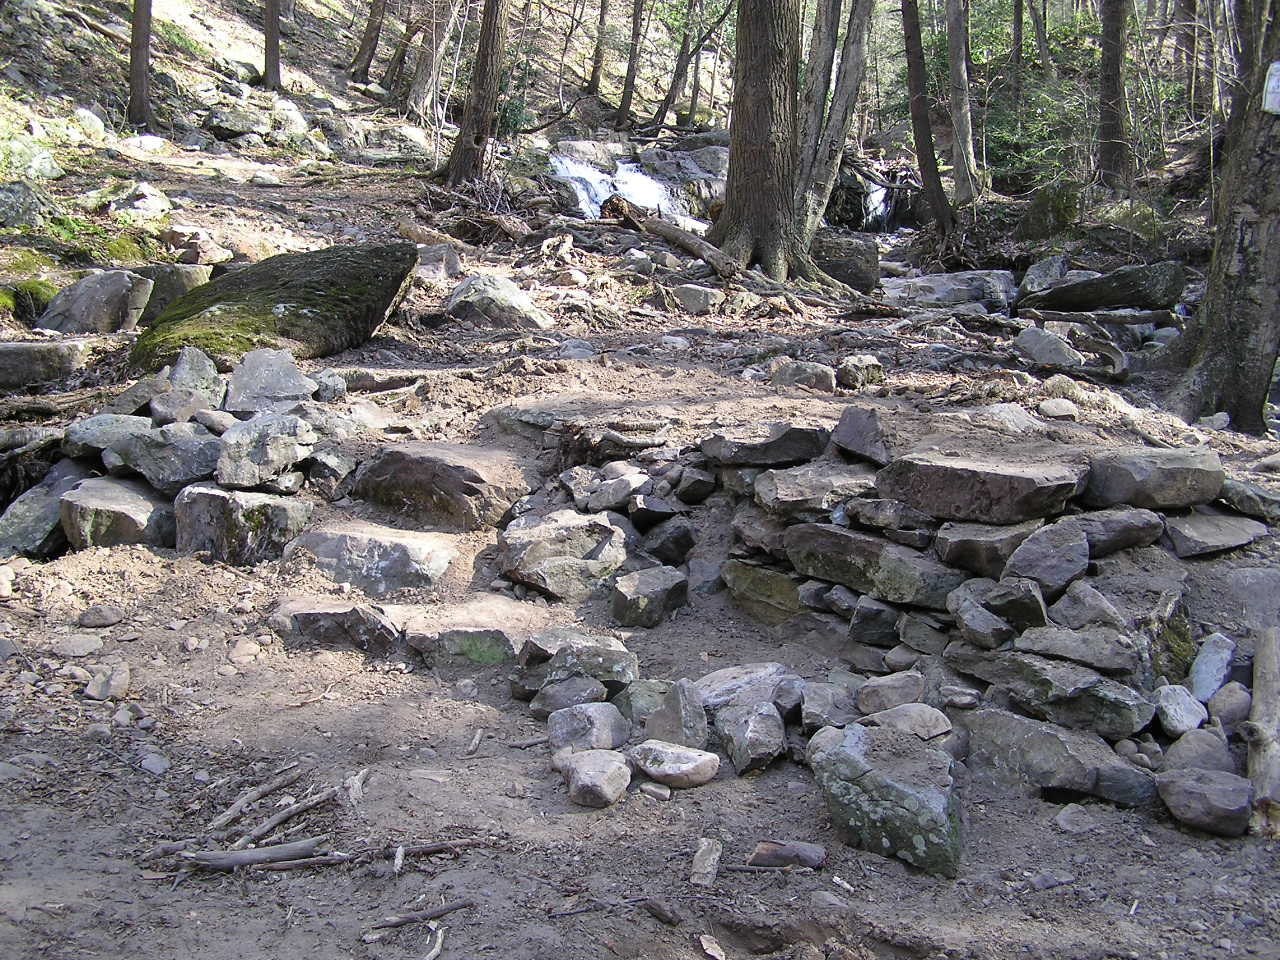
Finally, the mostly completed retaining walls and steps. When completed, the wall will continue around to the left of the steps to protect the bank on that side where a high-water flow cascades down.
[photo: Monica Resor]
Here, the major structure for the far side abutment is in place. Monica was able to hook the base course behind the top of a buried boulder. We will be using one of the recovered concrete beams as a top sill, placing it across the top row of rocks. These large stones will be further covered by a layer of rip-rap and such to help protect them in times of high water.
[photo: Monica Resor]
This is where the top sill beam will be located on that far side abutment.
[photo: Monica Resor]
Meanwhile, on the near bank, the crew has nearly completed that abutment. A bit more work will be needed to finish it off and bring it up to level.
[photo: Monica Resor]
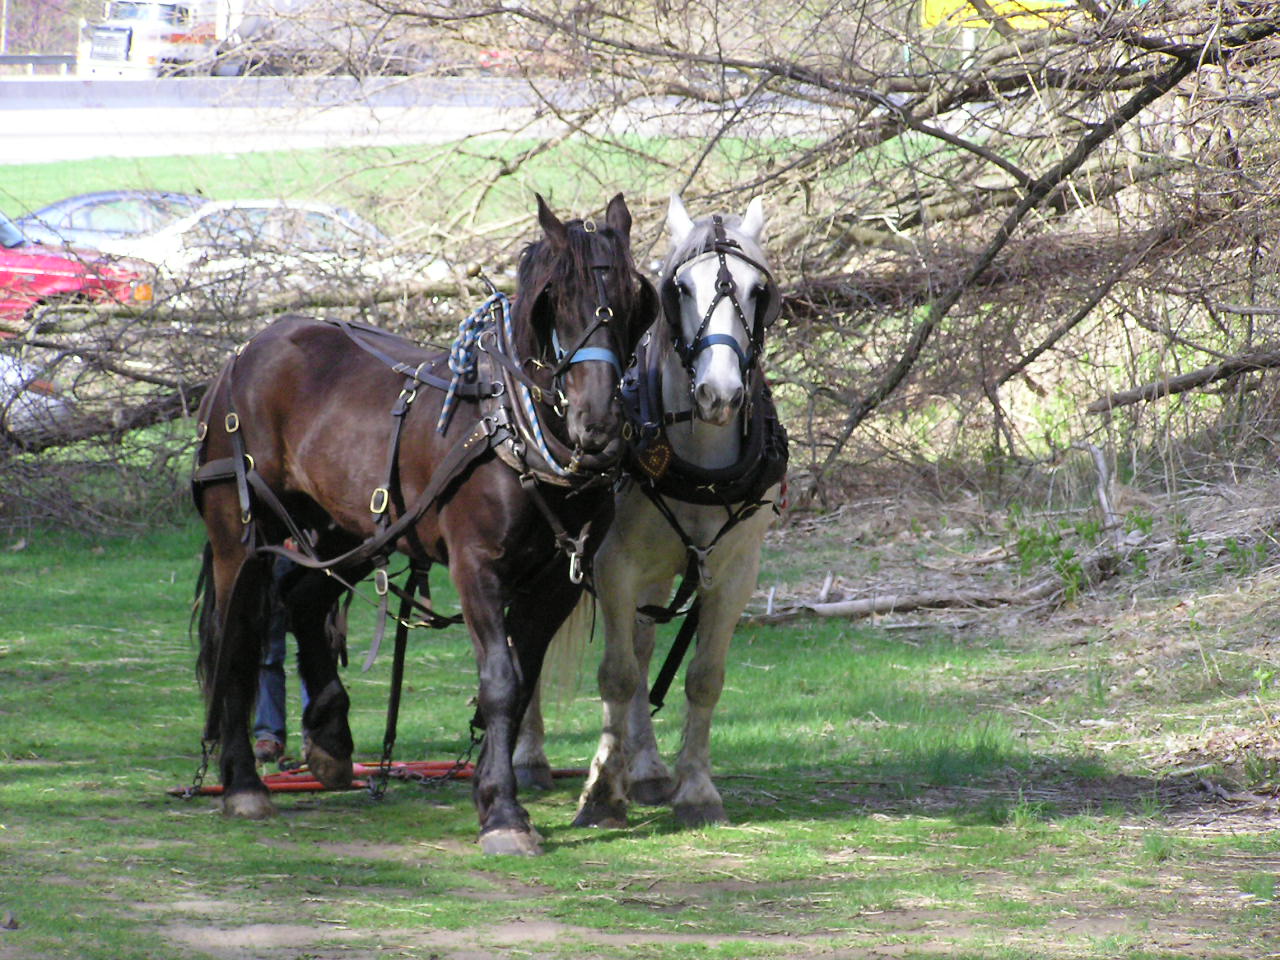
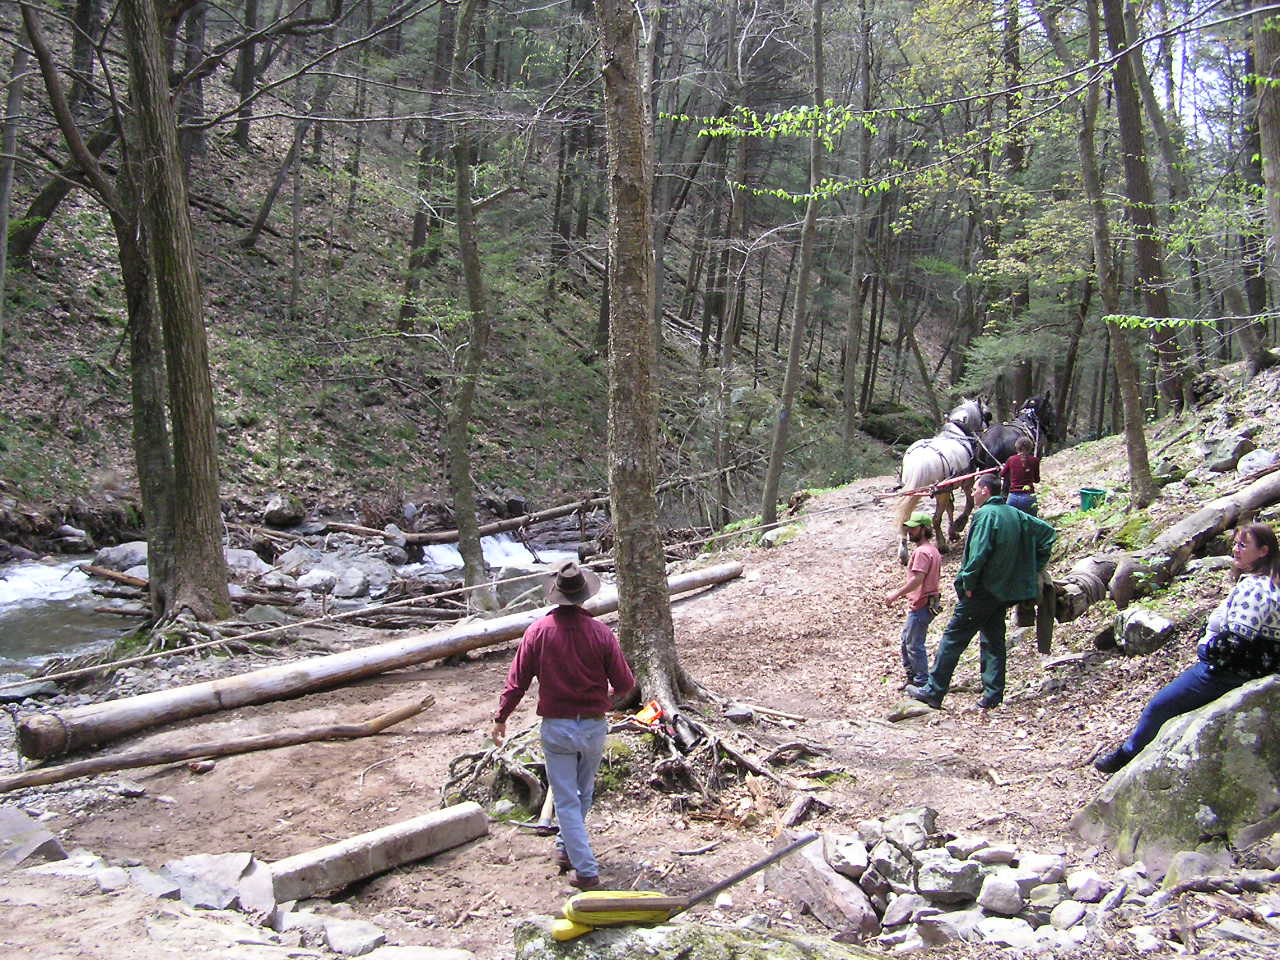
There was one small detail we had to deal with. The main bridge supports were two 36 foot telephone poles. And they were out at the side of I-80 in the overflow parking area - half a mile from their intended new home. Send for the Calvary - or more precisely, for Josh and Tom. They are two of 4H Timber Harvesters' (Pipersville, PA.) Percheron draft horses. As they did for us on the Big Flat Brook bridge, they provided the "horsepower" needed to move those poles right up to the site.
[photo: Monica Resor]
They just make it look so easy!
[photo: Monica Resor]
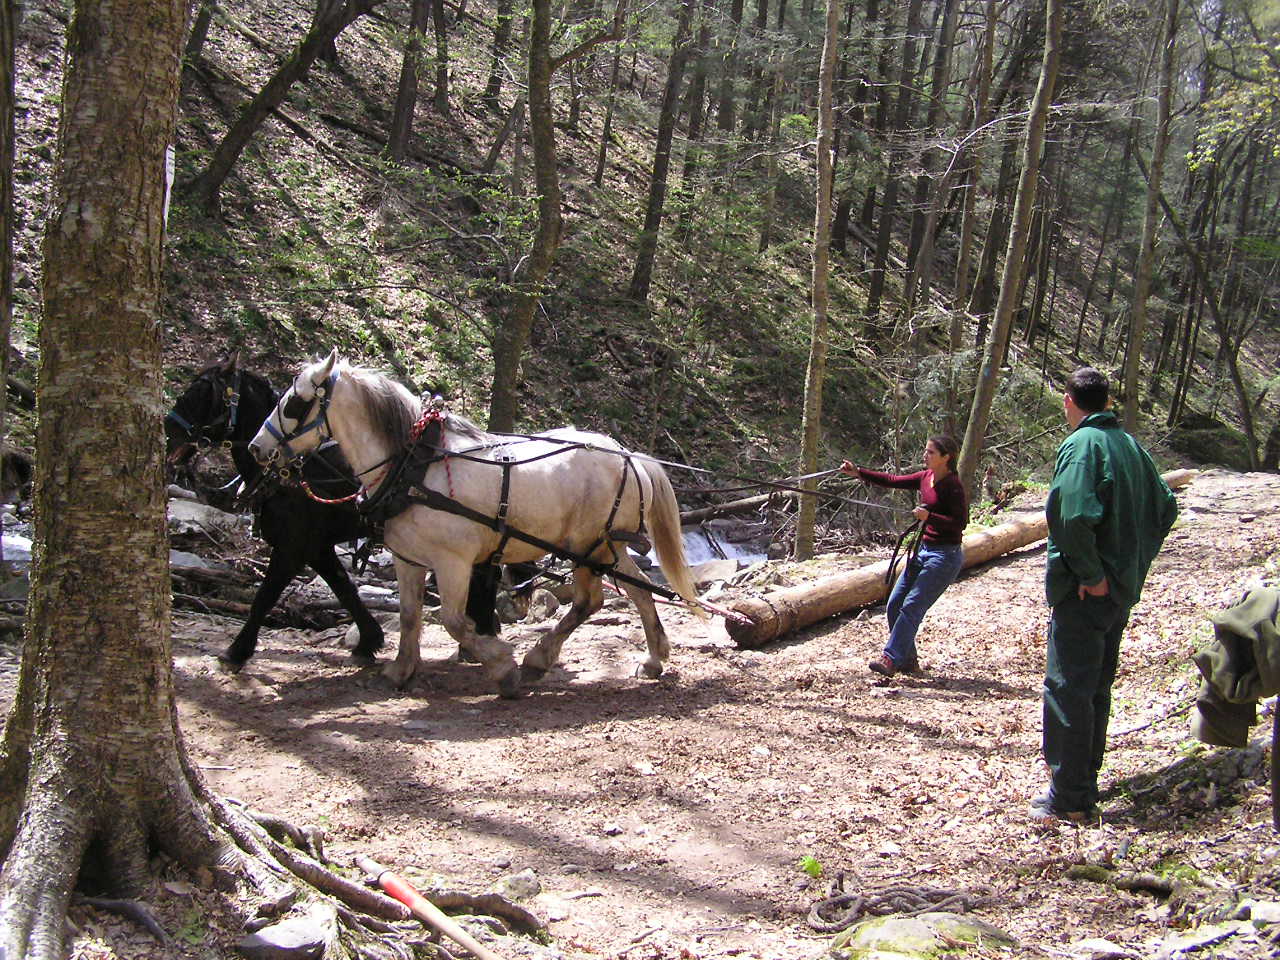
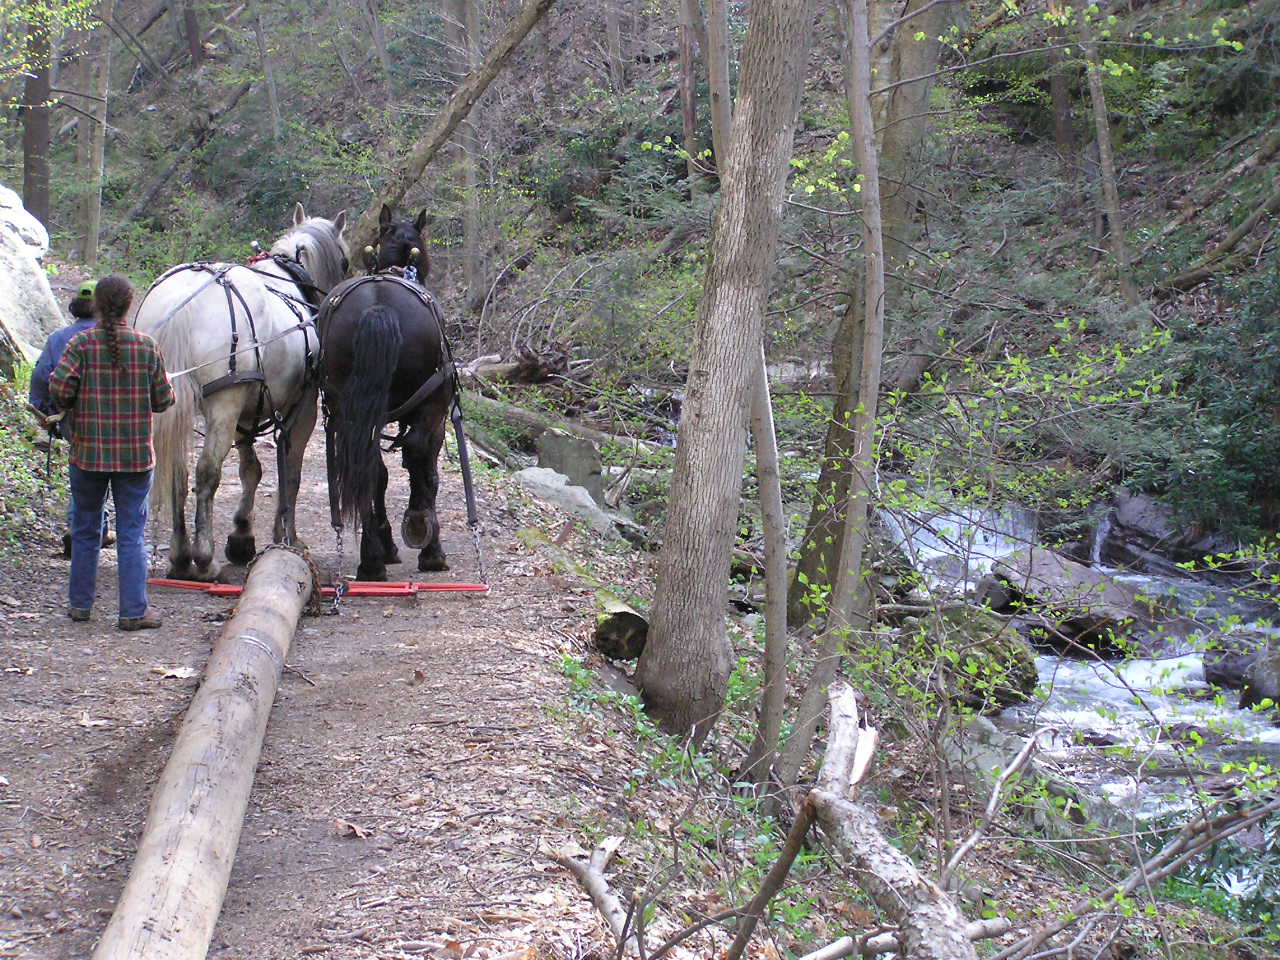
They brought them right up to the site, mere feet from the new stonework.
[photo: Monica Resor]
Then, with a heavy rope through pulley fastened to a tree on the far side, the horses pulled the poles across the stream so that they laid diagonally between the two sets of new footings.
[photo: Monica Resor]
Once they were both across the stream, we moved the pulley to way up a tree near the near-side footing and used a winch and rock bars to lift and lever the ends of the poles up into place onto the not-quite-finished footing. Their assignment completed, the horses headed home. Our blessings following them all the way. And it was only just lunch time!
[photo: Monica Resor]
After lunch, we completed the near-side abutment structure and initial rip-rap covering. We re-located the top sill beam and slid the poles together onto it.
[photo: Monica Resor]
By day's end, "all" that remained was to set the far side top sill in place and then raise the two pole-ends up into place. That we did the following trip.
[photo: Monica Resor]
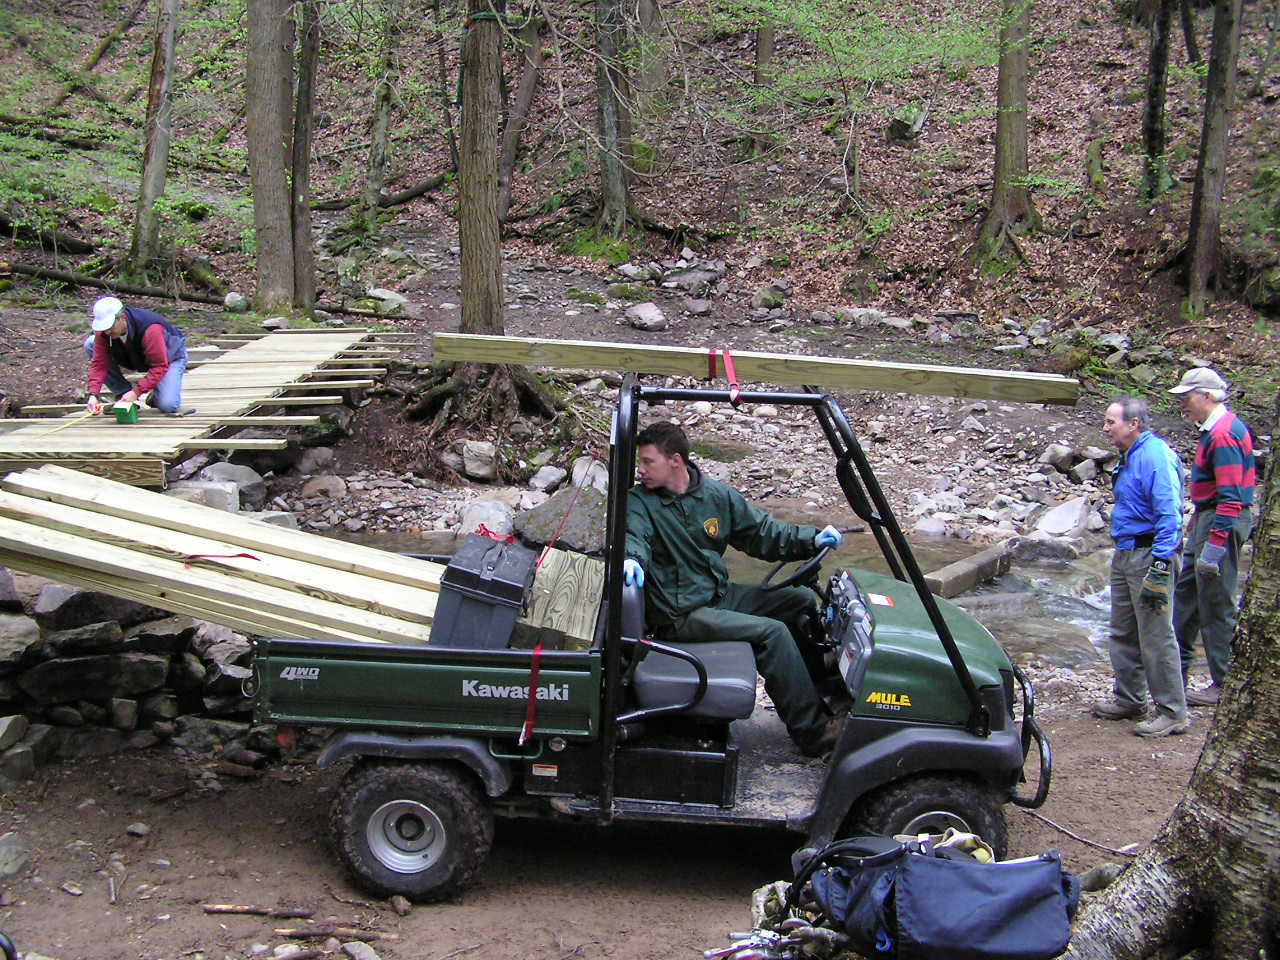
The next trip began with a split effort. Part of the crew worked at the parking lot where the lumber had been delivered. Using a chop saw, they pre-cut most of the wood components to size. Then, using a motorized "Mule", the materials were brought in over multiple trips. Thanks to the staff at Worthington for once again providing super support for the project. One of them spent the entire day working with us.
[photo: Monica Resor]
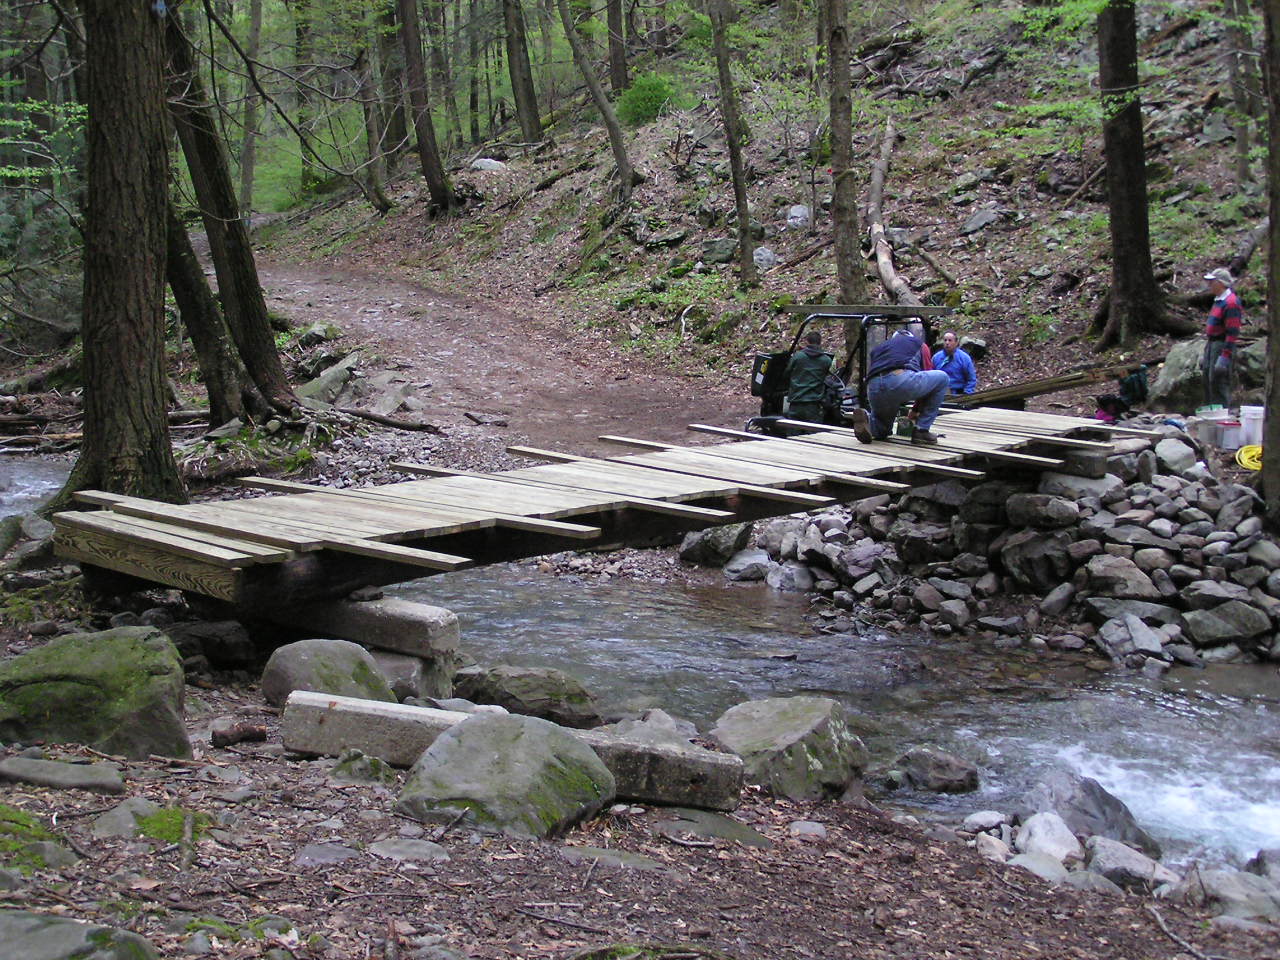
Here you see some of the railing members being delivered, while the deck boards are being spread onto the poles and roughly tacked down.
You can also see the longer deck boards which will become the supports for the outriggers which will support the railings. The long boards were located every 4 feet, with the regular deck boards distributed evenly between them and screwed down permanently.
[photo: Monica Resor]
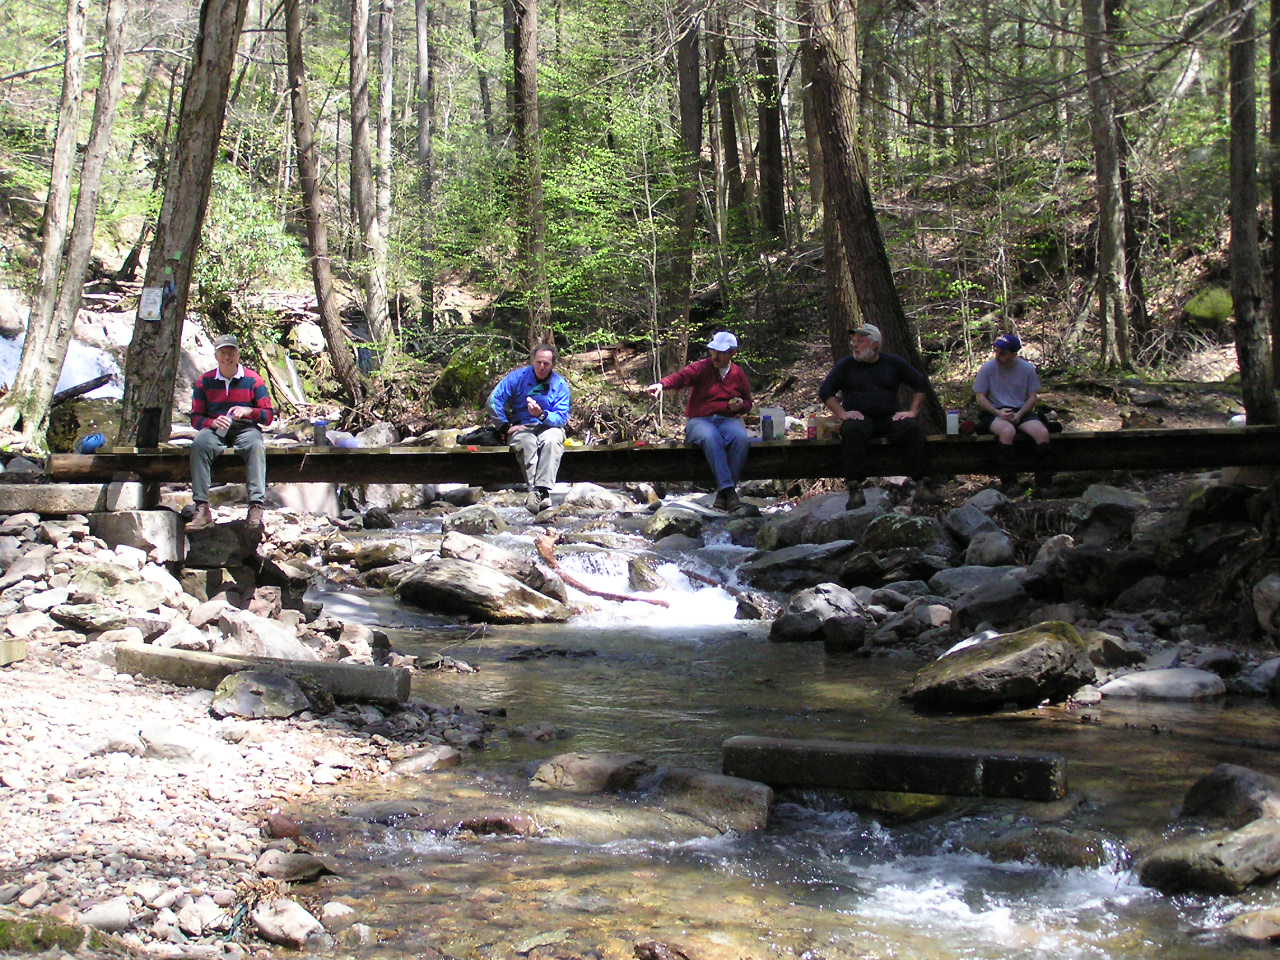
Lunch time! Where else do you sit, but on the bridge? It's finally starting to look like a bridge!
[photo: Monica Resor]
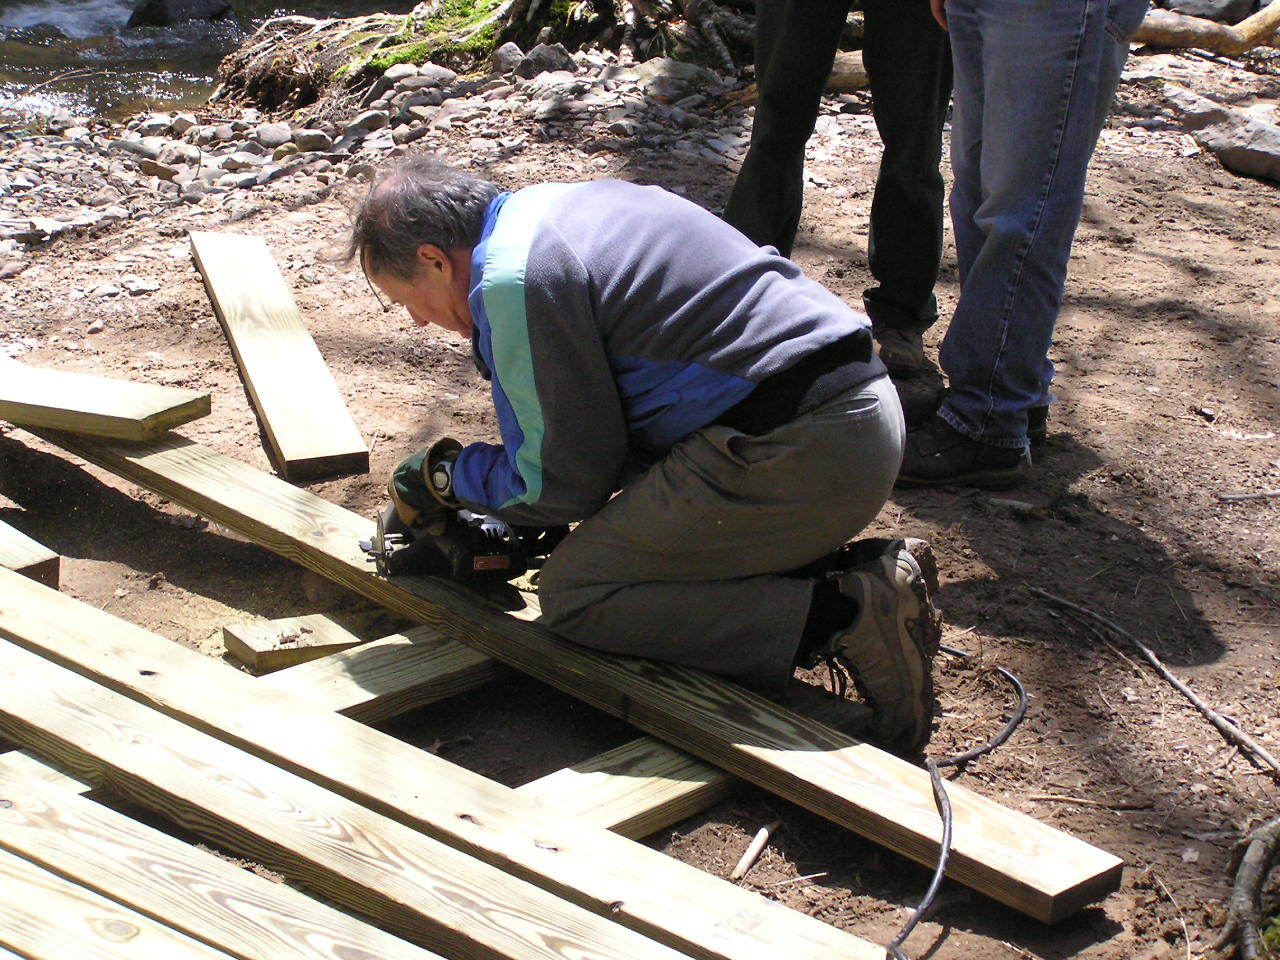
Now we began cutting and assembling the bracing for the railings. These pieces had to be cut on site, once we had the final dimensions of everything.
[photo: Monica Resor]
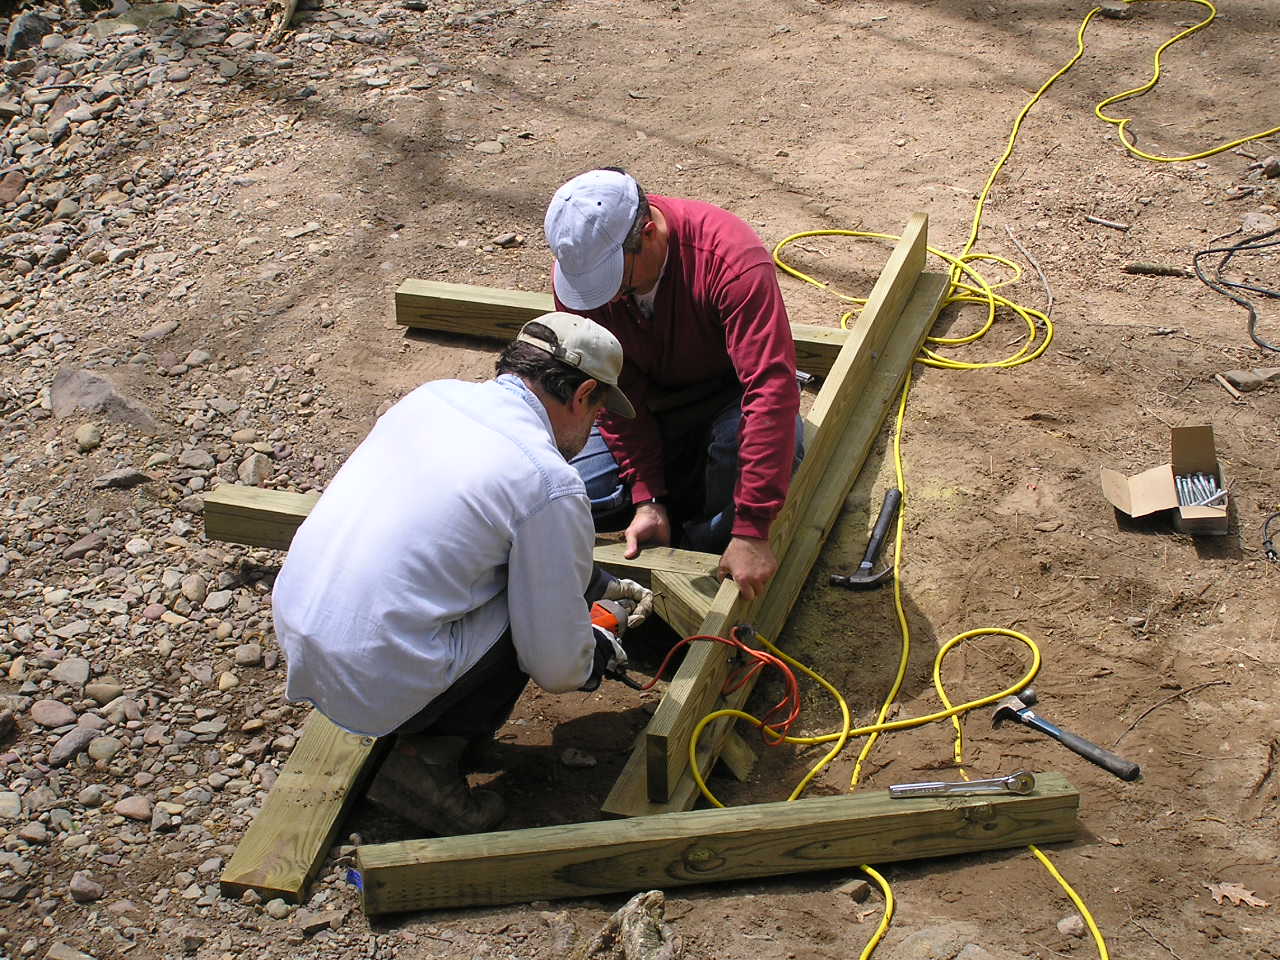
The long boards were removed from the deck and then drilled. Using heavy lag bolts, the vertical posts were attached. Then a small angled block was screwed in at the bottom and the outrigger brace was screwed on.
[photo: Monica Resor]
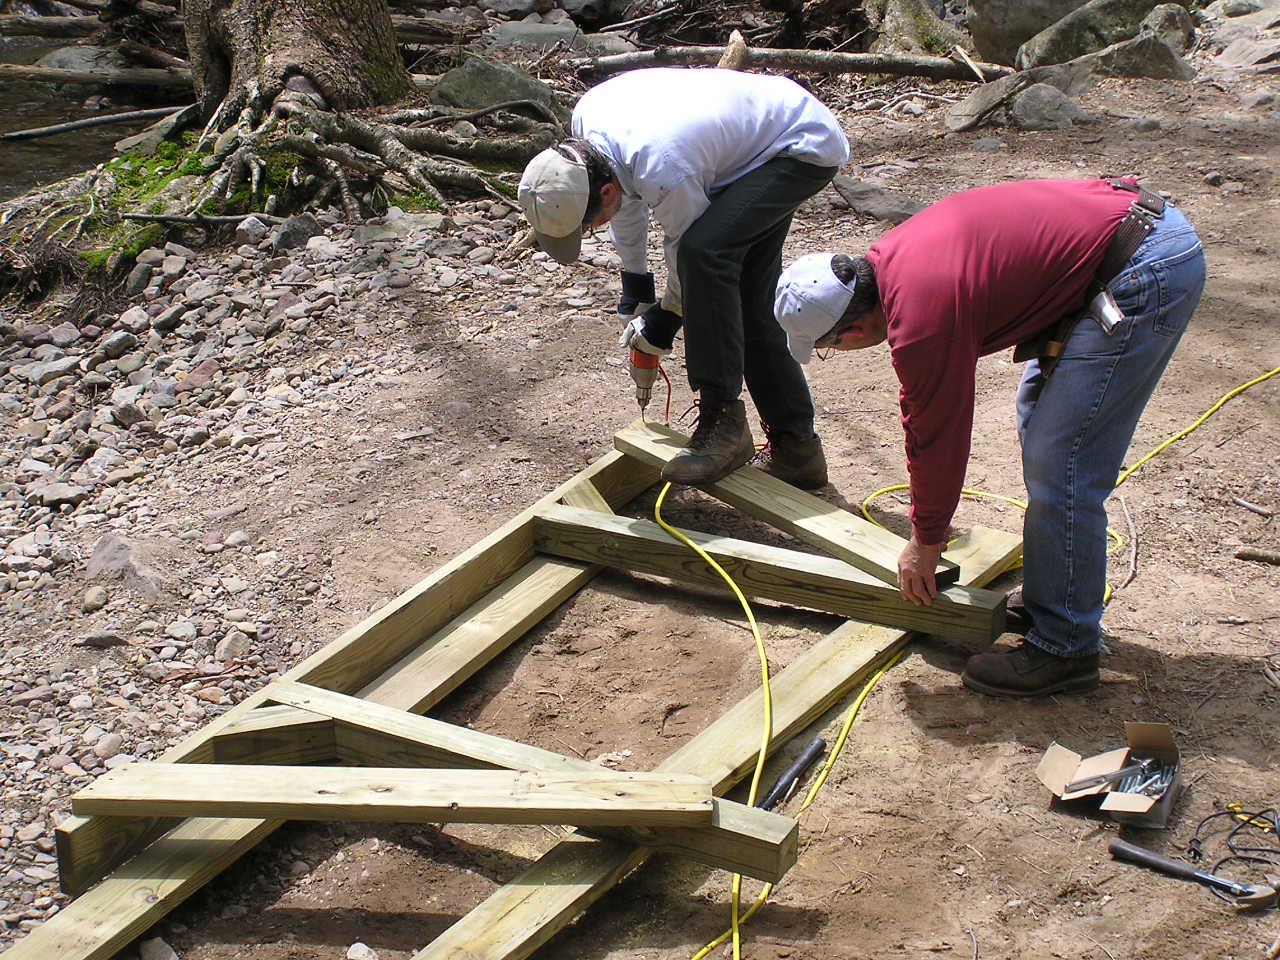
Here you see the outrigger being place and screwed on as the brace for the top of the railings.
[photo: Monica Resor]
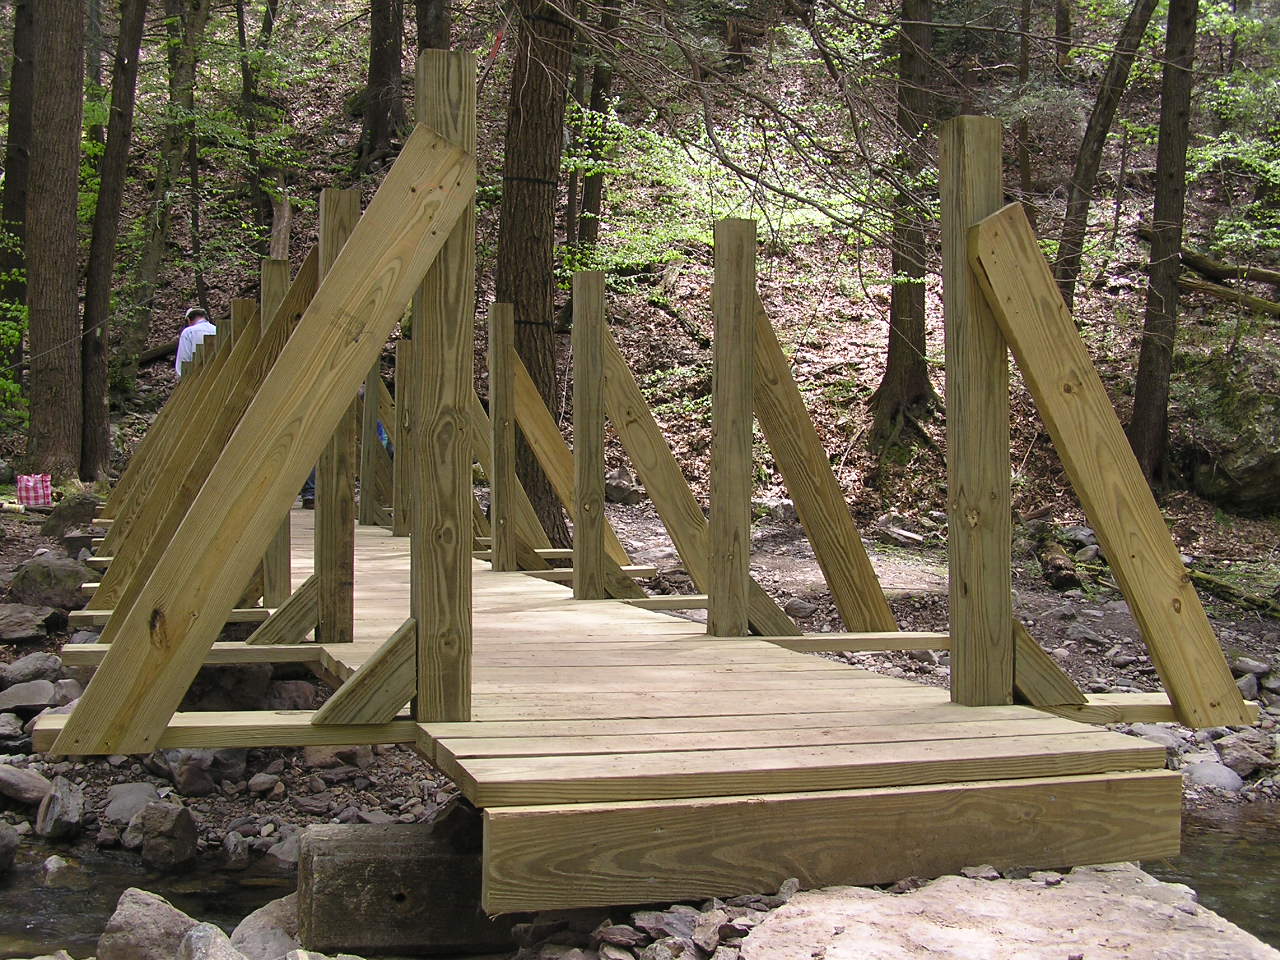
Then the whole assembly is carried onto the bridge, set in place and screwed down. This photo gives you a pretty detailed view of just how the whole thing goes together. This is a very common style of bridge, commonly called "Adirondack" style.
[photo: Monica Resor]
After the assembled railing posts were in place, side and top railings were screwed into place and small, angled sections of post were screwed onto the ends of the railings to finish off the first few boards of the deck.
[photo: Monica Resor]
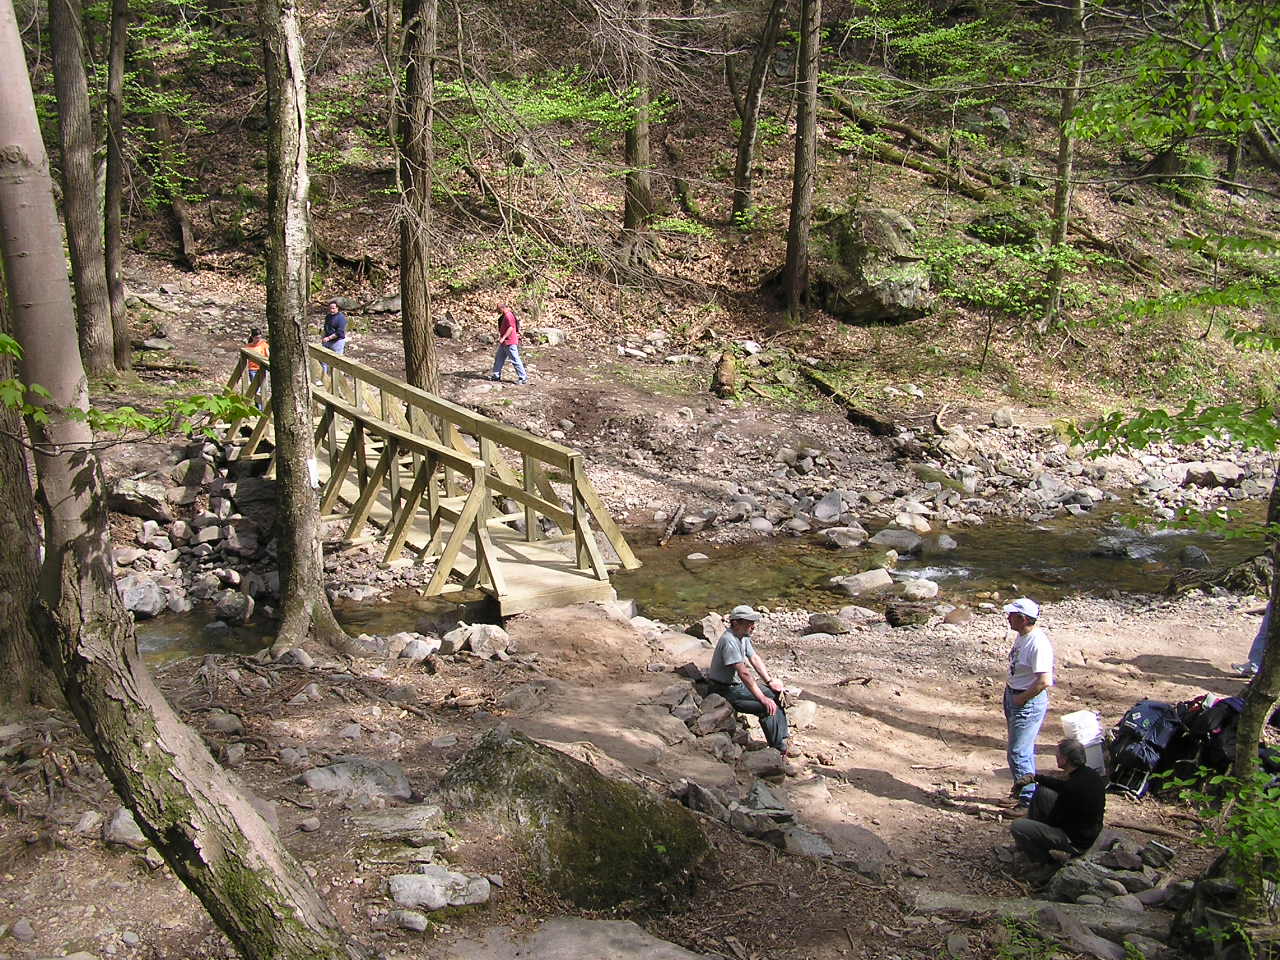
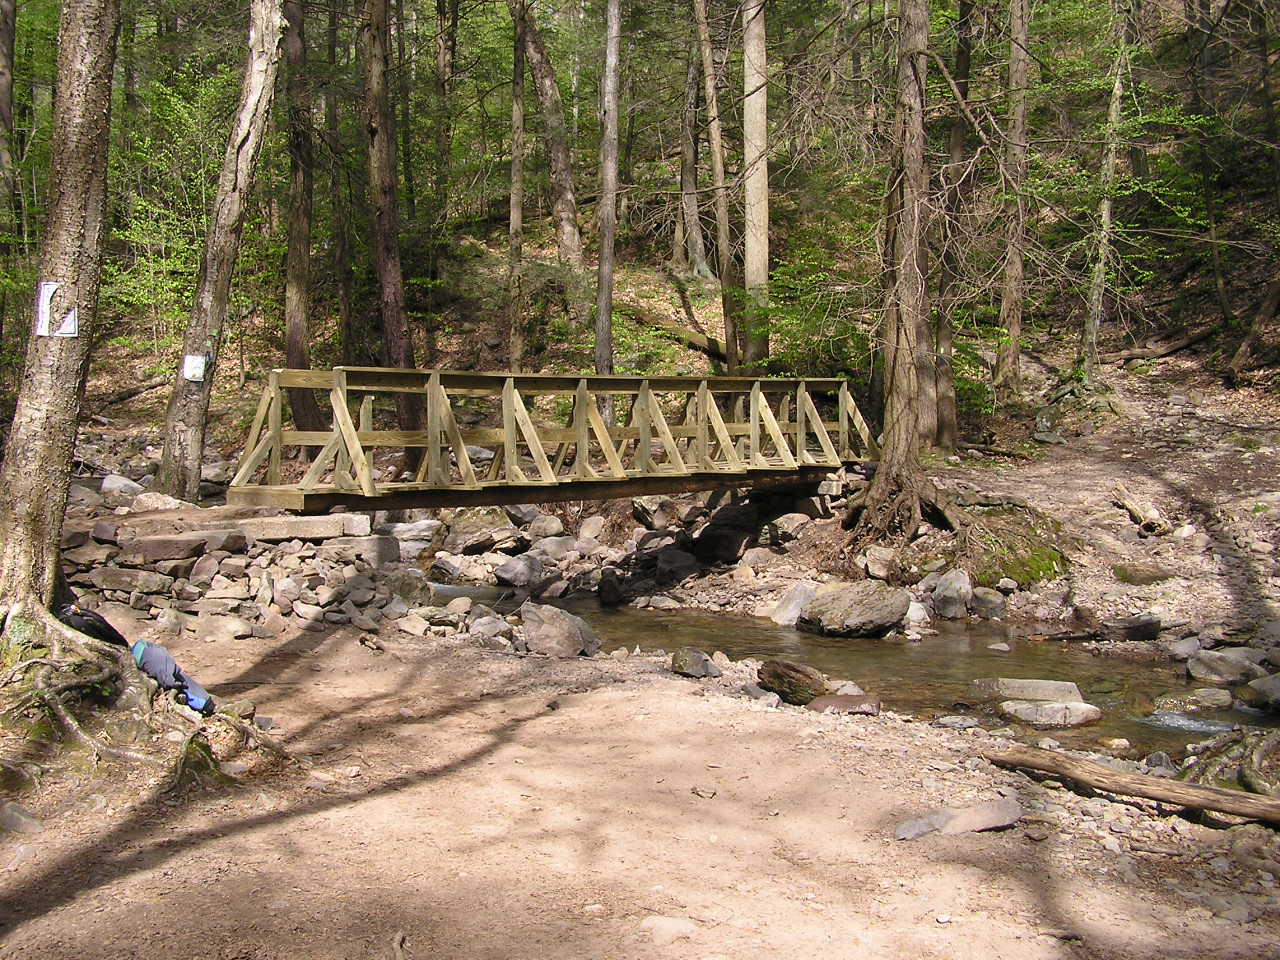
Already in use!
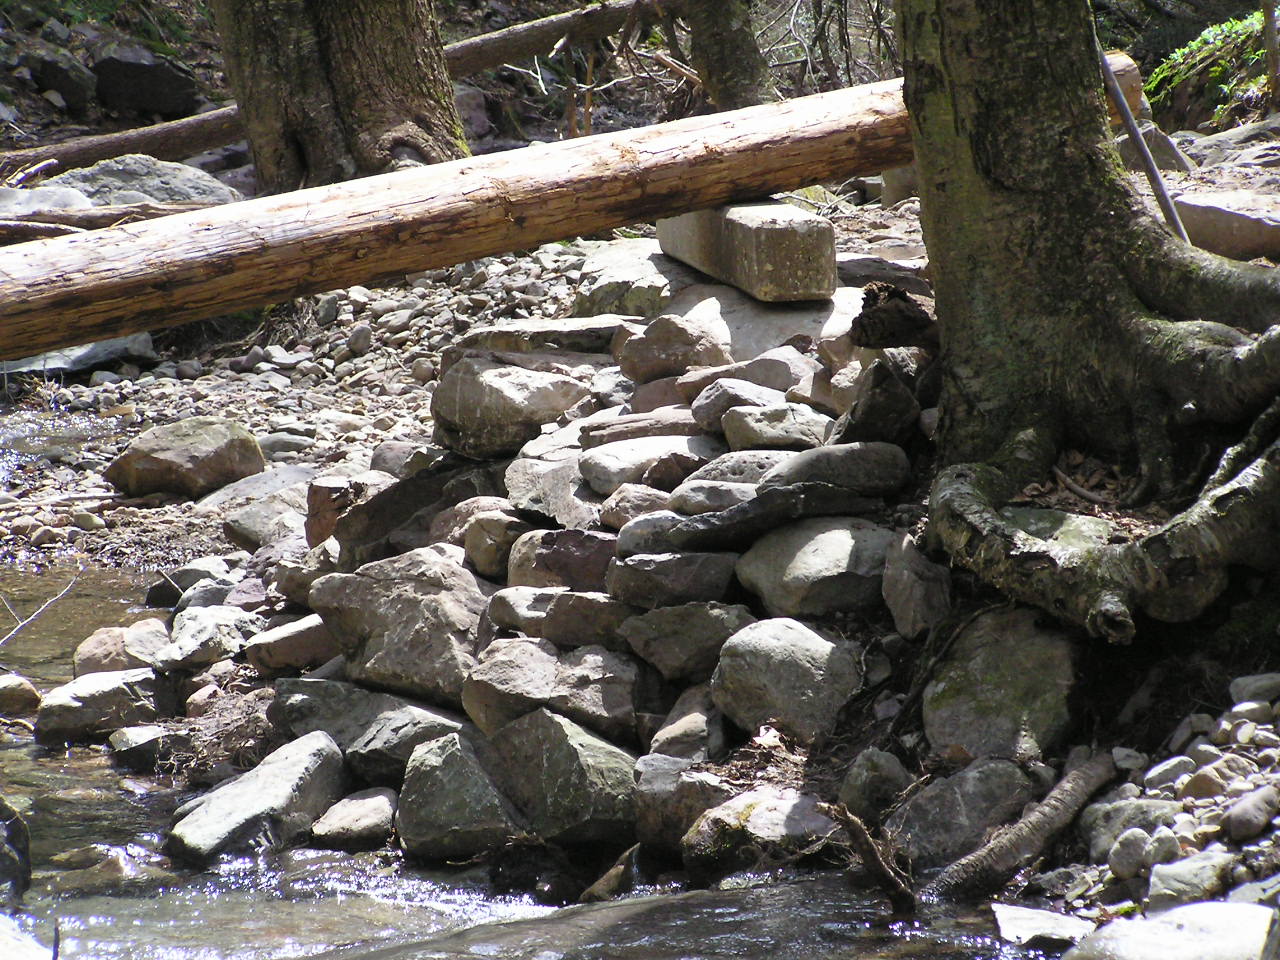
Here you can see the finished near-side approach, with it's retaining walls and steps.
[photo: Monica Resor]